This post may contain affiliate links. Read my full disclosure here.
As an Amazon Associate I earn from qualifying purchases.
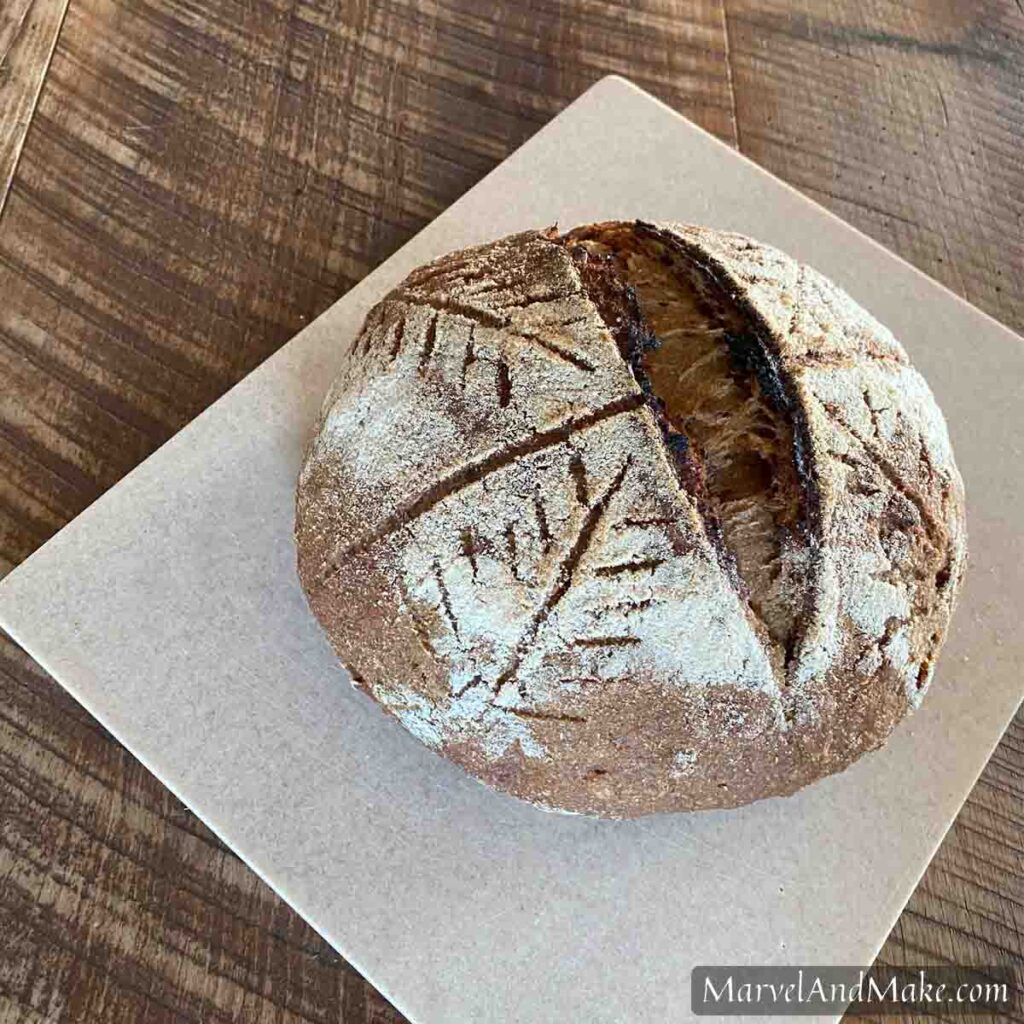
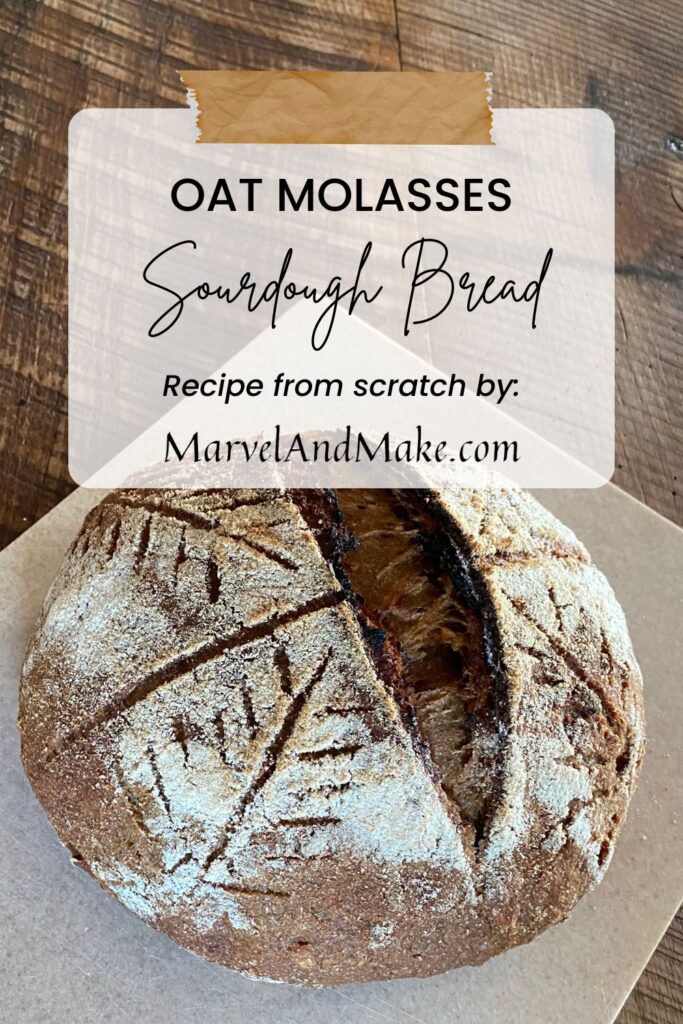
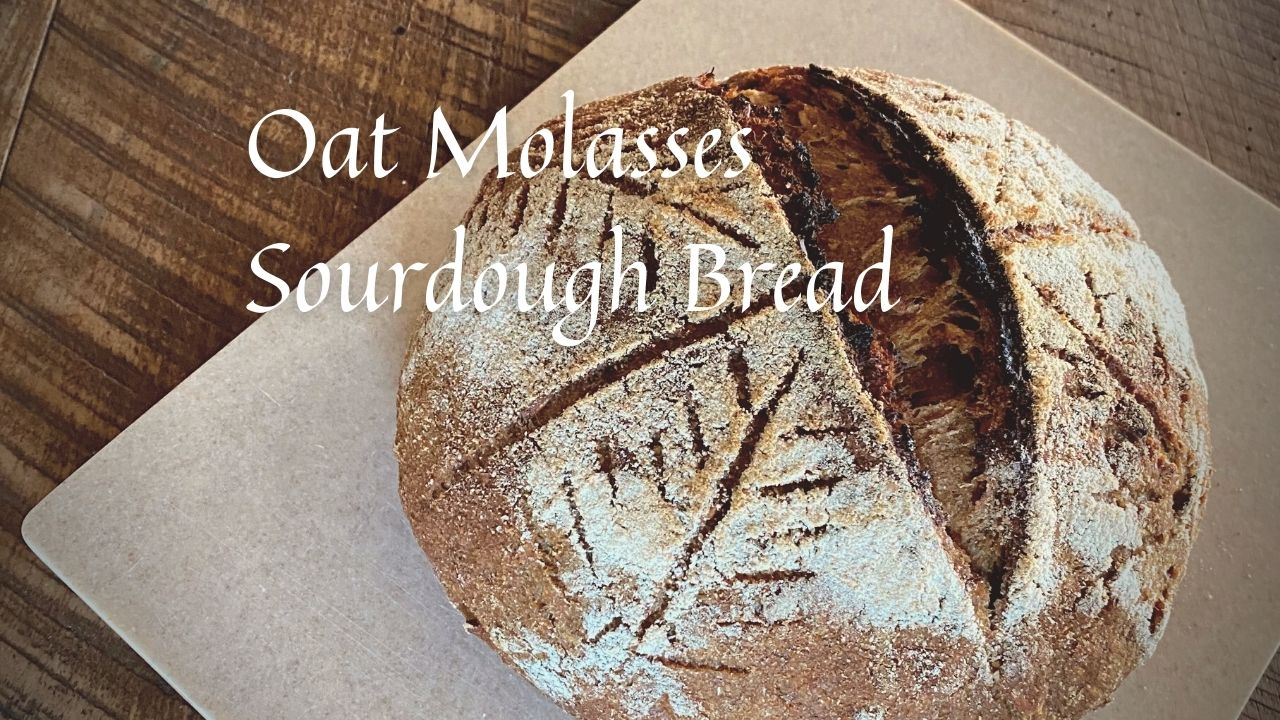
Do you love a dark, nutty, oat bread that when served with some real butter is a little slice of heaven? This whole grain sourdough bread is a meal all by itself. Also sweetened with honey, Oat Molasses Sourdough Bread is chewy, moist, rich, and memorable. The perfect sweet and savory treat to accompany any dish.
What is a Sourdough Starter?
A sourdough starter is a mixture of flour and water that has been fermented to form a live active culture. It’s used to leaven bread the same way yeast is. Making a starter is simple but time consuming, taking anywhere from a week to 10 days or even longer.
The process is this: you mix flour and water and let it sit out on your counter, covered. Every day you dump out some of the mixture and “feed” it again. This fermentation process results in a beautifully bubbly starter. For a full tutorial on how to make a sourdough starter, check out this post by Farmhouse on Boone.
Does Sourdough have to be “SOUR?”
Absolutely not! I fully embraced sourdough baking when I learned that just because you’re making a sourdough recipe, the results aren’t necessarily going to be “sour.” In fact, if you’re drawn to that lovely tangy, sour flavor, you may need to be a little more intentional with your sourdough process.
But my kids don’t care for that traditional sourdough taste, so I keep all my recipes pretty mild. And this honey oat bread that has a beautiful dark color from the molasses is one of their favorites. Sometimes we call it oatmeal bread, just because it sounds fun.
Whole Grain Sourdough Bread
I only bake using freshly milled, whole grains. Simply put, I grind grains into flour using a home mill just before I want to bake. This ensures that the nutrients remain intact. To read more about why you should mill your grains at home, check out my full post Homemade Flour from Whole Grains.
Soaked Oats
Soaking oats overnight in warm water with a touch of an acidic medium helps to break them down before they’re cooked. This recipe calls for soaked oats but I only suggest you soak them for an hour and a half before you add them to the flour. They are going to break down for almost 24 hours so a pre-soak is all that’s necessary here. I love adding oats to my sourdough, even when I make sourdough pancakes!
How to Stretch and Fold Whole Wheat Sourdough
Stretching and folding dough is an alternative to kneading. Instead of working the dough for many minutes (sometimes 15 minutes) as is required for kneading, the stretch and fold process is more gentle. I find that it works nicely for whole wheat sourdough, as the whole grain flour includes the bran which can tear gluten (not allowing it to develop and rise) if overworked.
Stretch and Fold Technique: Lift one side of the dough up and fold it back over the rest of the dough. Rotate the bowl a quarter turn and again stretch part of the dough up and over on itself. Repeat this process two to three more times, then cover the bowl and let it rest. Pretty easy, right? This was one stretch and fold session.
Ready to Bake some Whole Wheat Sourdough Bread?
Start by mixing together the first three ingredients in a bowl or measuring cup (oats, warm water, and yogurt). All ingredient measurements are listed in the recipe below.
Set this aside for one and a half hours to soak. (I didn’t have the same results when I tried soaking these overnight.)
Once the oats are soaked, combine the rest of the ingredients in a large bowl. (I use a kitchen scale and measure everything in grams to be accurate.)
Then add the soaked oats to the bowl.
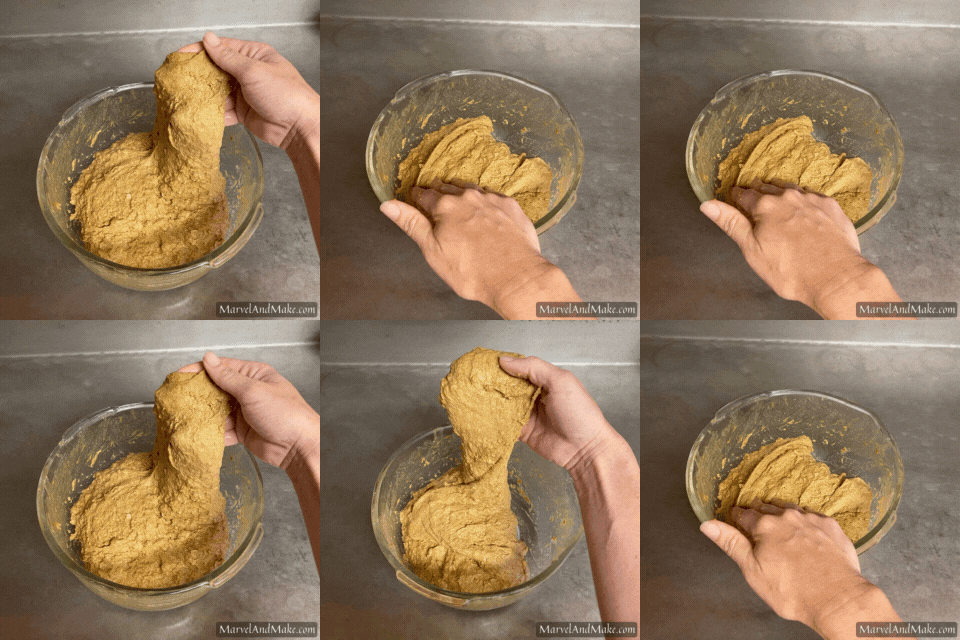
Using a Danish dough whisk, wooden spoon, or your hands, mix everything together until there is no dry flour left and everything is well incorporated. Don’t knead it. Simply mix it well and then cover it with a dish towel and let it sit out on the counter for 1 hour.
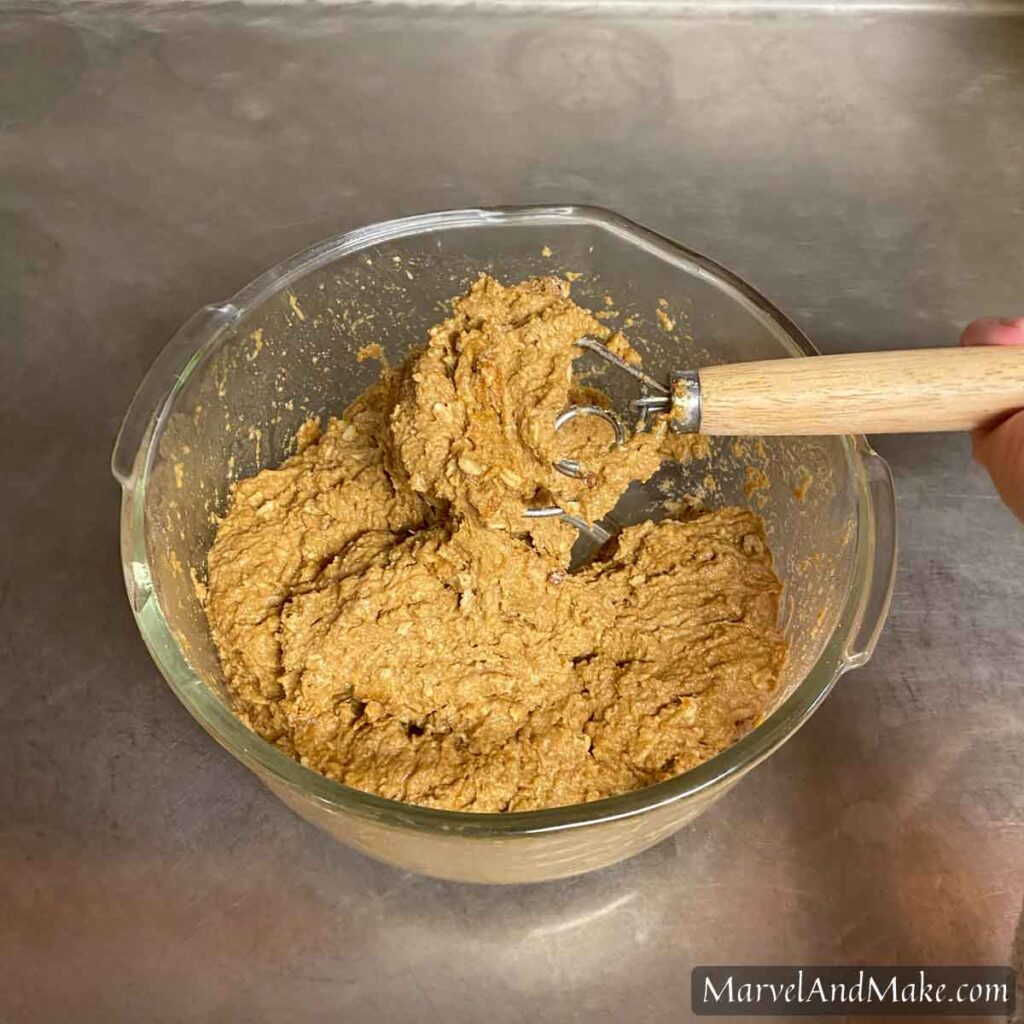
After an hour, remove the towel and using your clean, damp hands knead the dough together with the stretch and fold process. Perform 4 series of stretch and folds 30 minutes apart that consist of 4-5 stretches and folds each. Cover with a towel and leave out on the counter between each session.
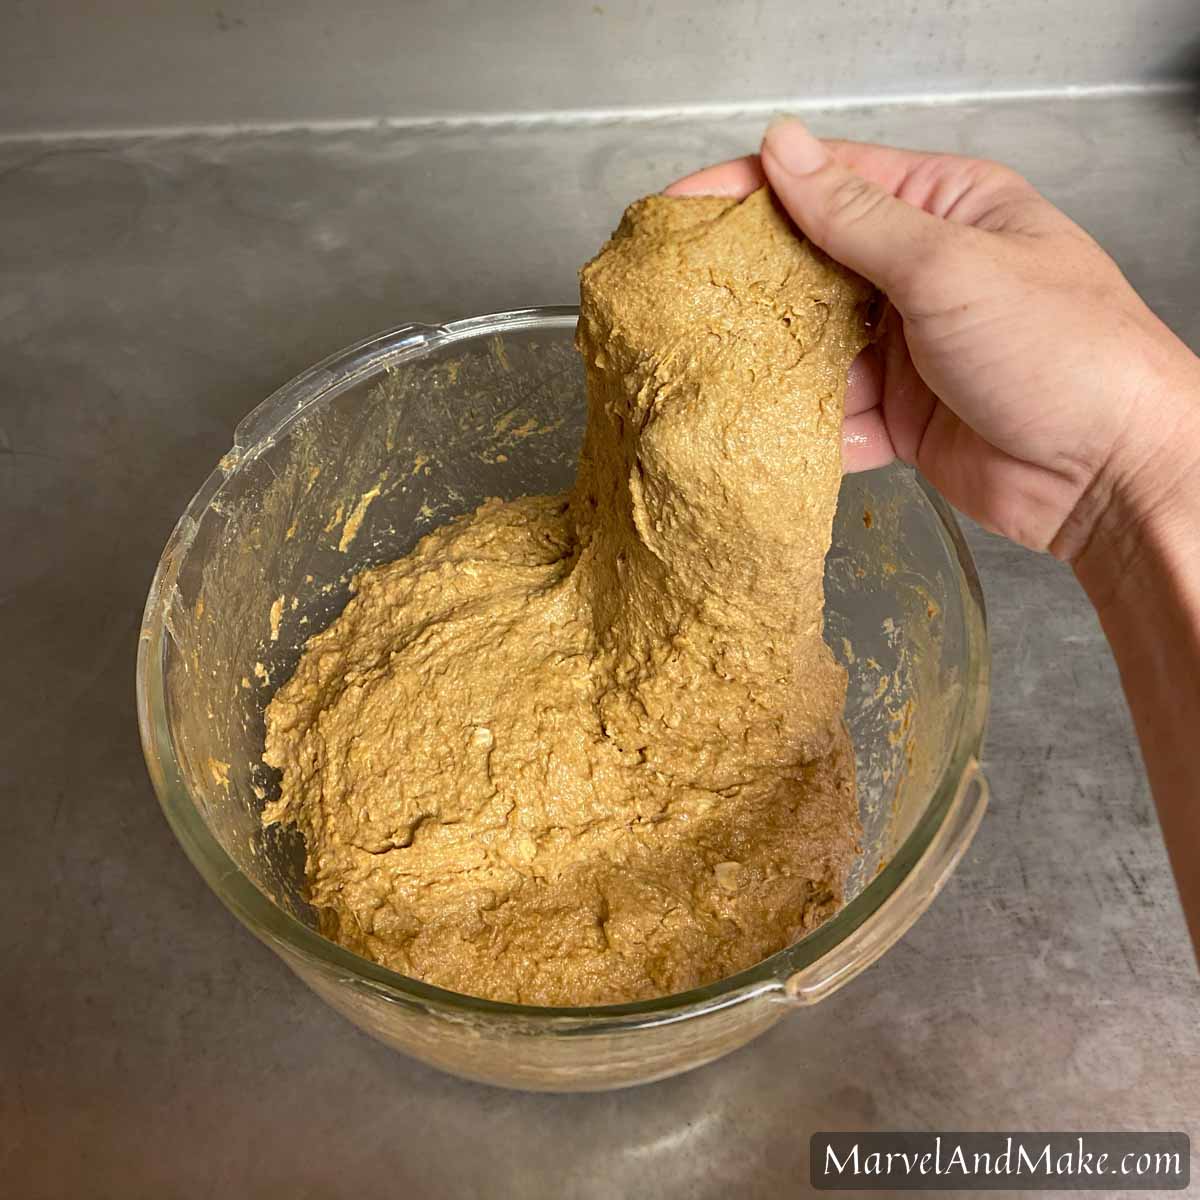
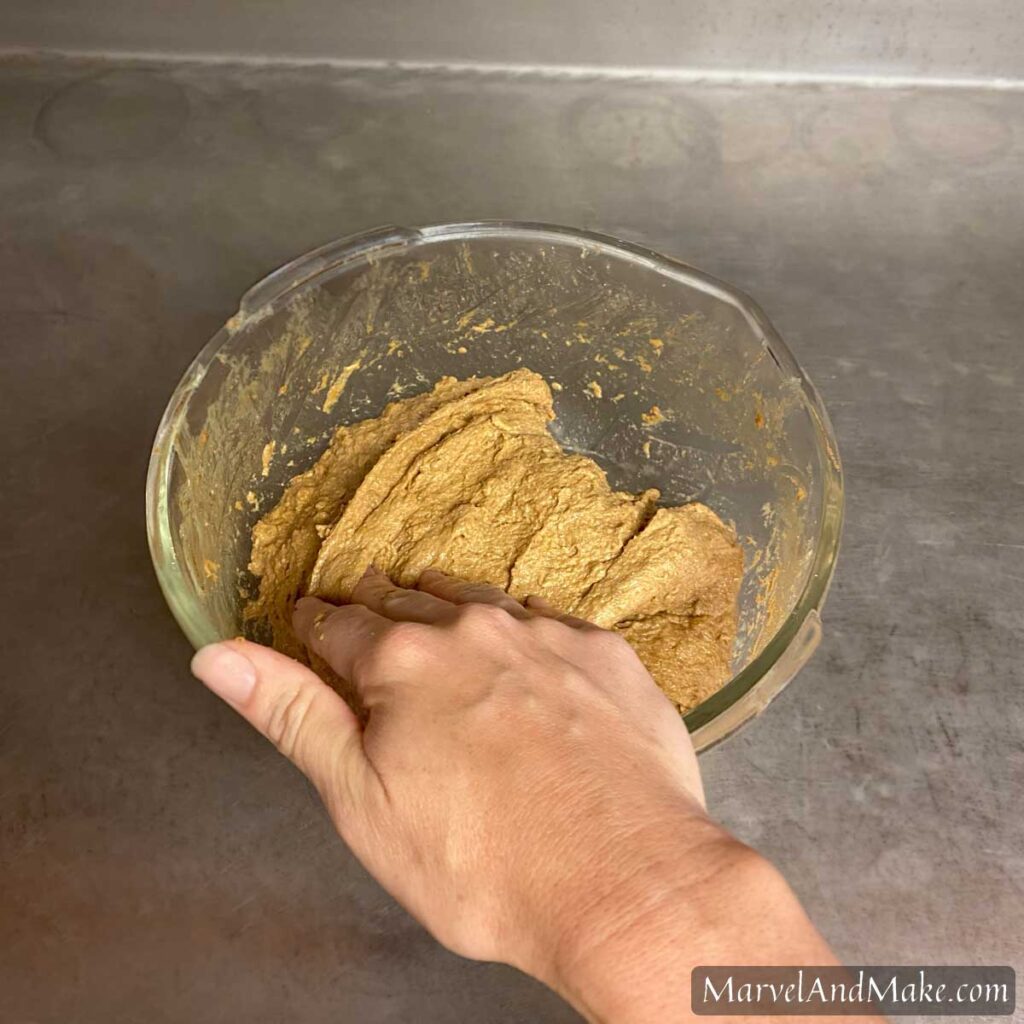
After the 4th series of stretch and folds, cover it again with a towel and let it rest on the counter for 2 hours. Then gently lift the dough out of the bowl and lay it on a clean surface that’s either damp or lightly floured.
Pull the dough out into a rectangle shape, roughly 8″ by 11″. Fold the right corner of the dough to the bottom center, then the left corner to the bottom center, and repeat until the dough is folded upon itself like a log.
Roll the log up to a ball shape. Note: this dough is very sticky, not like a traditional sourdough. Let the shaped ball rest on the counter for 30 minutes.
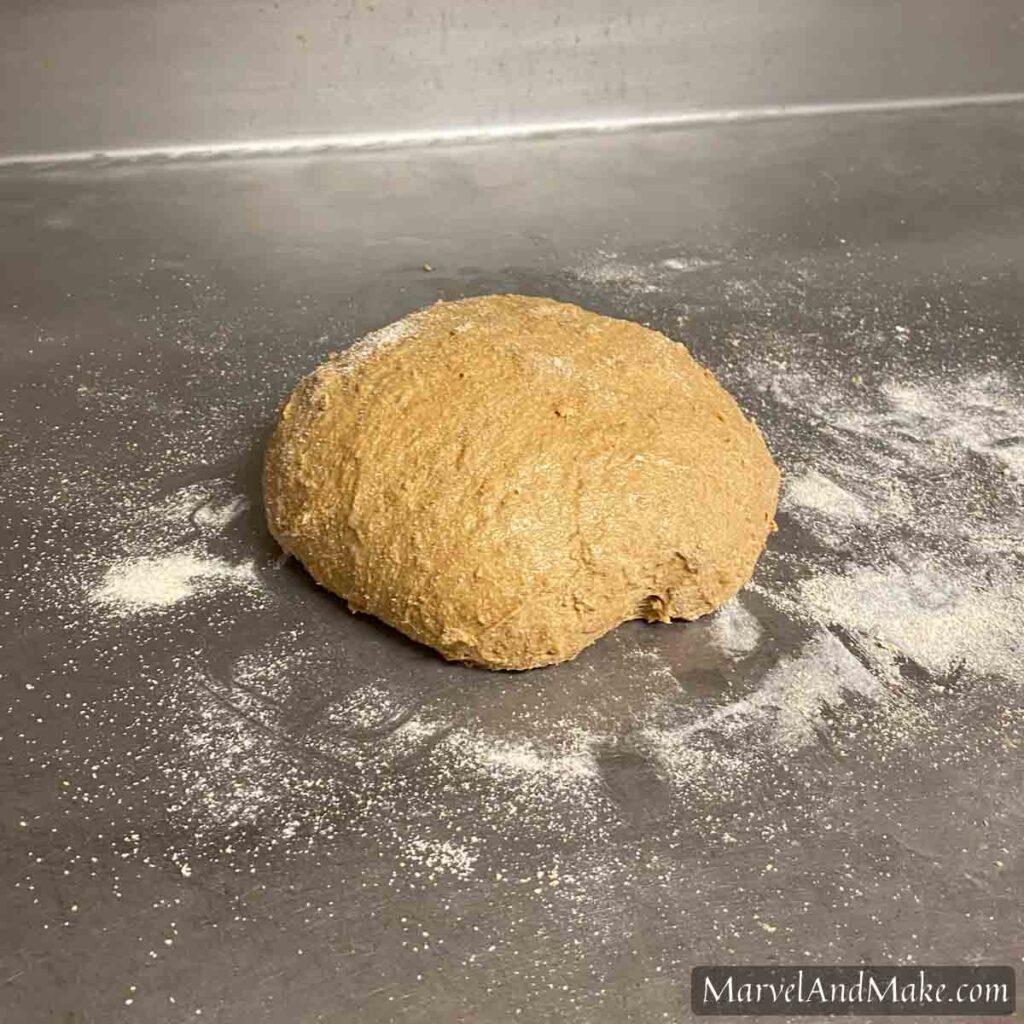
Heavily flour a banneton basket (if you do not have a banneton basket, use a colander that’s lined with a tea towel) and transfer the dough to the basket upside down. Sprinkle a bit more flour on the bottom of the dough and then cover with plastic wrap or put the whole basket in a plastic shopping bag.
Place the covered basket into the fridge and allow it to proof overnight. The next day (morning, afternoon, or evening… it won’t make much difference), place a medium Dutch oven or other heavy bottom lidded pot in your cool oven. Preheat the oven to 450℉.
Once the oven is hot, pull your cold dough out of the fridge and dump it out on some cut parchment paper so the round side is up.
Use a lame, razor blade, or sharp knife to score the dough. (The dough will expand in the oven and “burst” if you don’t do this. You can include a pretty design but one good deep cut will give it the permission to expand where you want it to.)
Carefully pull out the hot Dutch oven, grab the parchment paper and place it with the dough inside, then cover it with the lid. Bake, covered, for 30 minutes.
Then remove the lid and continue to bake another 20-30 minutes or until it reaches an internal temperature of 195℉. I use an oven safe thermometer like this one that reaches outside the oven so I know exactly when it’s done. (I absolutely love it for more than just bread making!!)
When it’s done, remove it from the oven. Warm bread is a gift from heaven BUT for best results, allow the loaf to cool completely before slicing. This dough is moist, chewy, and completely packed full of flavor. Enjoy with some real butter.
Leave a comment below letting me know if you tried this recipe and what you thought! Link any other favorite whole grain sourdough recipes in the comments as well.
Oat Molasses Sourdough Bread
Equipment
- 1 Banneton Basket optional
- 1 Dutch Oven optional
Ingredients
- 1 cup Rolled Oats
- 1 cup Warm Water
- 1 tbsp Yogurt or acidic liquid (buttermilk, lemon juice, vinegar, etc.)
- 3⅓ – 3½ cups Hard Red Wheat Flour (450 grams) preferably fresh milled
- 1¼ cups Warm Water (315 grams)
- ½ cup Active, Fed Sourdough Starter (120 grams)*
- 1⅓ tbsp Salt (25 grams)
- 2 tbsp Honey (40 grams)
- ¼ cup Molasses (95 grams)
Instructions
- Mix together the first three ingredients, set aside for 1.5 hours to soak.1 cup Rolled Oats, 1 cup Warm Water, 1 tbsp Yogurt or acidic liquid (buttermilk, lemon juice, vinegar, etc.)
- Once oats are soaked, combine the rest of the ingredients in a large bowl. (I use a kitchen scale and measure everything in grams to be accurate.) Add the soaked oats to the bowl.3⅓ – 3½ cups Hard Red Wheat Flour (450 grams), 1¼ cups Warm Water (315 grams), ½ cup Active, Fed Sourdough Starter (120 grams)*, 1⅓ tbsp Salt (25 grams), 2 tbsp Honey (40 grams), ¼ cup Molasses (95 grams)
- Using a Danish dough whisk, wooden spoon, or your hands, mix everything together until there is no dry flour left and everything is well incorporated. Cover with a dish towel, and let it sit out on the counter for 1 hour.
- After an hour, remove the towel and using your clean damp hands knead the dough together using the stretch and fold process. Perform 4 series of stretch and folds 30 minutes apart that consist of 4-5 stretches and folds each. Cover with a towel and leave out on the counter between each session.**
- After the 4th series of stretch and folds, cover again with a towel and let it rest on the counter for 2 hours. Then gently lift the dough out of the bowl and lay it on a clean surface that's either damp or lightly floured. Pull the dough out into a rectangle shape, roughly 8" by 11". Fold the right corner of the dough to the bottom center, then the left corner to the bottom center, and repeat until the dough is folded upon itself like a log.
- Roll the log up to a ball shape. Note: this dough is very sticky, not like a traditional sourdough. Let the shaped ball rest on the counter for 30 minutes. Heavily flour a banneton basket*** and transfer the dough to the basket upside down. Sprinkle a bit more flour on the bottom of the dough and then cover with plastic wrap or put the whole basket in a plastic shopping bag.
- Place the covered basket into the fridge and allow it to proof overnight. The next day (morning, afternoon, or evening… it won't make much difference), place a medium Dutch oven or other heavy bottom lidded pot in your cool oven. Preheat the oven to 450℉. Once the oven is hot, pull your cold dough out of the fridge and dump it out on some cut parchment paper.
- Use a lame, razor blade, or sharp knife to score the dough. (The dough will expand in the oven and "burst" if you don't do this. You can include a pretty design but one good deep cut will give it the permission to expand where you want it to.)
- Carefully pull out the hot Dutch oven, grab the parchment paper and place it with the dough inside, cover with the lid. Bake, covered, for 30 minutes. Then remove the lid and continue to bake another 20-30 minutes or until it reaches an internal temperature of 195℉. (If you have an oven safe thermometer like the one mentioned in the blog post that reaches outside the oven, use that while baking.)
- Remove from the oven. Warm bread is a gift from heaven BUT for best results, allow the loaf to cool completely before slicing. This dough is moist, chewy, and completely packed full of flavor. Enjoy with some real butter.
Notes
Nutrition



This looks delicious! Can’t wait to try it.
Thank you! Let me know how it turns out. 🙂
Tried making this tonight. I currently have the dough in the fridge. I did all of the stretch and folds and the BF but my dough still seems pretty sticky and doesn’t hold shape well. Is this normal or should I let it BF longer next time? It’s 70° in my house but I wasn’t sure if this is supposed to rise and firm up like typical sourdough.
Hi Keisha! I didn’t see this comment immediately so I’m assuming you’ve already baked the bread? Like I mentioned in the recipe the dough IS really sticky but it always turns out beautifully for me! How did yours turn out?
My dough was sooo wet. It didn’t seem to want to develop the gluten in my fold and stretch. It’s in the fridge now. My expectations are not high at the moment. I’m from the east and was so hoping this would be close to the Maritime brown bread ( porridge bread) I grew up on!
My dough is always wet and very sticky! Have you baked it yet? How did it turn out?
It baked beautifully! I’ve made it since and cut way back in the moisture so it feels more like a regular sourdough. It also baked beautifully! Thank you so much for this recipe!
Oh I’m so glad you love it!
Delicious! I subbed 1/2 bread flour for wheat to lighten the crumb. And baked in a loaf pan with an inverted loaf pan as cover which I removed for the last 15 minutes or so of baking to facilitate browning. Definitely tastes of molasses without being overpowering. The dough was very wet as stated in directions, but turned out beautifully.
Ahh I’m so glad you loved it! Thanks very much for taking the time to comment and share your experience.
Absolutely delicious!! I’m from the East and this is as close to Maritime brown bread as you get. I know we were supposed to wait for it to cool, but we couldn’t resist and sliced it right out of the oven, slathered it with butter and YUMMMMM!!!
And yes, it is very sticky to work with and I wasn’t holding out much hope, but I was so wrong!!
Oh I’m so glad you loved it!! Thank you so very much for the sweet comment – that made my day!
I just made this (and added toasted pecans because I love nutty bread), and we used it for lunches and everyone (even my picky kids) loved it! I didn’t proof it in the fridge because a couple of my kids complain when bread is really tangy and I read that the longer it is in the fridge the more that flavor can develop. I just shaped a batard, put it in a bread pan, and let it proof on the counter till I felt it was ready and the poke test seemed good and then baked it. So good!! Thank you for this recipe. I’m making it again already.
Kara, thank you so much for the comment and feedback! Adding nuts sounds like a win – I will try this too!!
I just pulled the bread from the oven and it smells delicious and looks beautiful…wish I could post a picture! One issue I had with the recipe that might help clarify is how the oats and water portion of the recipe is in cups and all other parts of the recipe is measured in grams (which I always use a scale when bread baking as you recommended). However I misunderstood your recipe that the 450 grams of flour included the oat mixture, so my dough was way too wet! I kept adding flour to get to the right consistency. After reviewing the recipe again, I realized that the 450 grams was flour only, plus the oats! My mistake, but I thought your recipe could benefit from clarification on that one part. Thanks again for the recipe, it’s a keeper!
Oh thank you for that feedback, Verna! And I’m so glad that you were able to make the recipe work and loved it! 🙂