
While they were eating, Jesus took bread, and when he had given thanks, he broke it and gave it to his disciples, saying, “Take and eat; this is my body.”
Matthew 26:26
Now, why on earth would the son of God compare himself to a food that we are told is bad for us? That we should consume conservatively? That we are often made to feel guilty about?
Well, here’s the nutshell (excuse the pun) version: Grains in their original form are highly nutrient dense, nourishing, whole foods. Modern day, conventional flour that most bread products are born from, has been stripped of all the lovely vitamins, minerals, and other vital nutrients our bodies need.
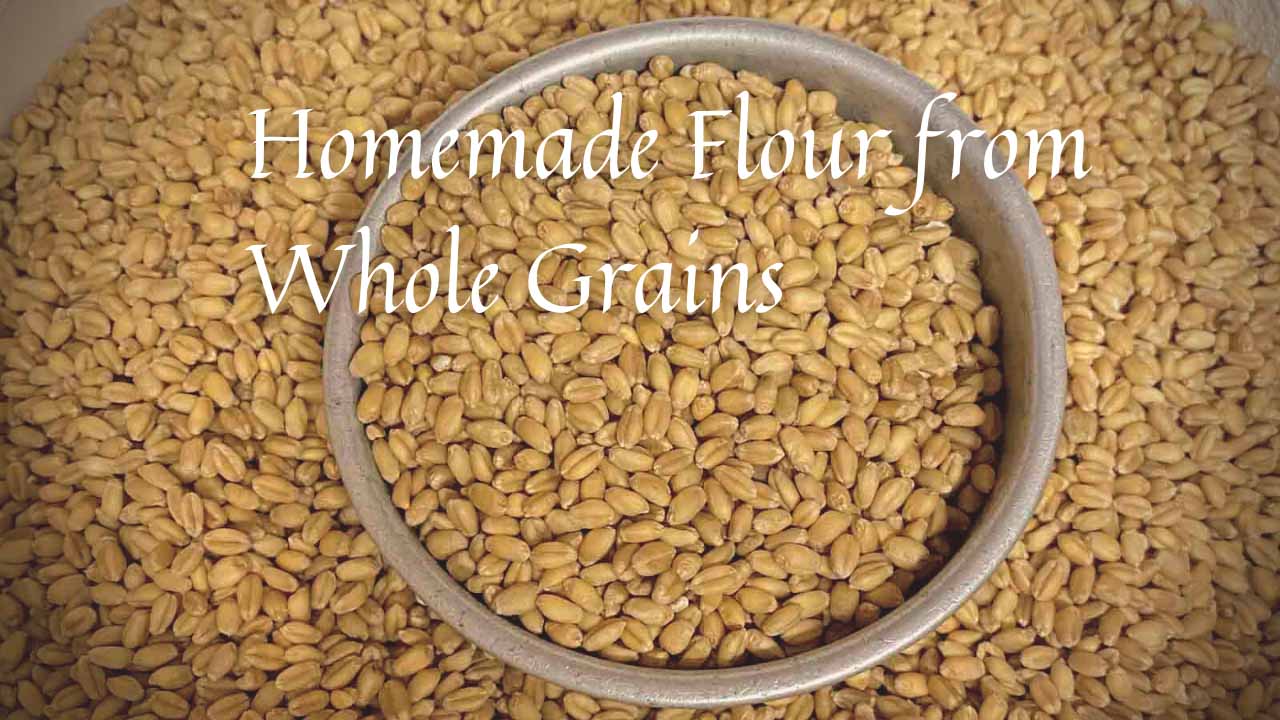
What is a Whole Grain?
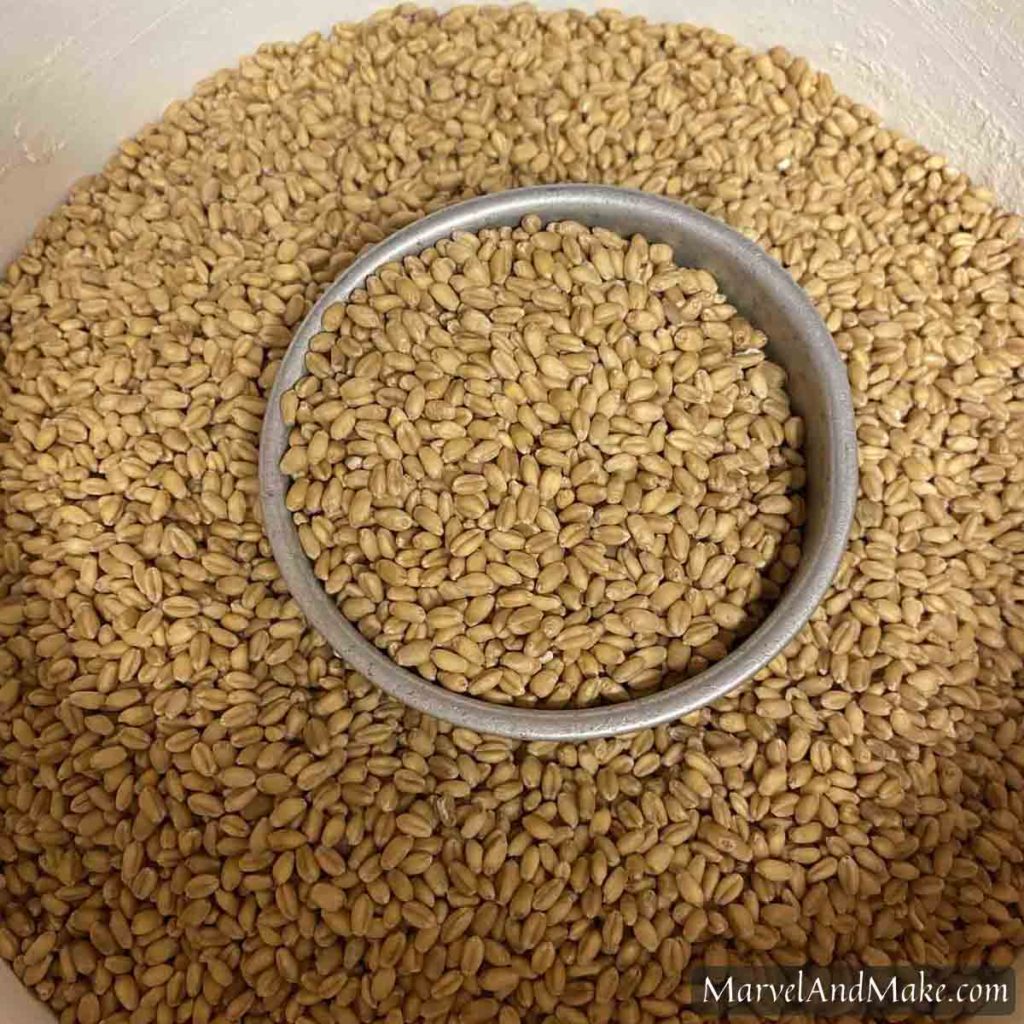
Grains are labeled a “whole grain” if they have three original parts: the bran, the germ, and the endosperm. There is a fourth, inedible part of the grain called the husk or hull that can be easily removed. This outer shell protects the kernel from things like pests and disease.
The second layer of protection is the bran. This portion is edible and is high in B vitamins, antioxidants, and fiber. To aid in digestion of the entire kernel, the bran contains enzymes that break down the germ and endosperm. If left intact, the grain will last for years. When I say years, I mean that whole grains have been found in thousand year old tombs and when planted, grew. Pretty amazing.

When the bran layer is cracked open, the integrity of the grain is compromised and immediately starts to deteriorate through exposure to oxygen. This is the same thing that happens when you bite into an apple and then leave it out on the counter. You come back later to find that it’s turned brown.
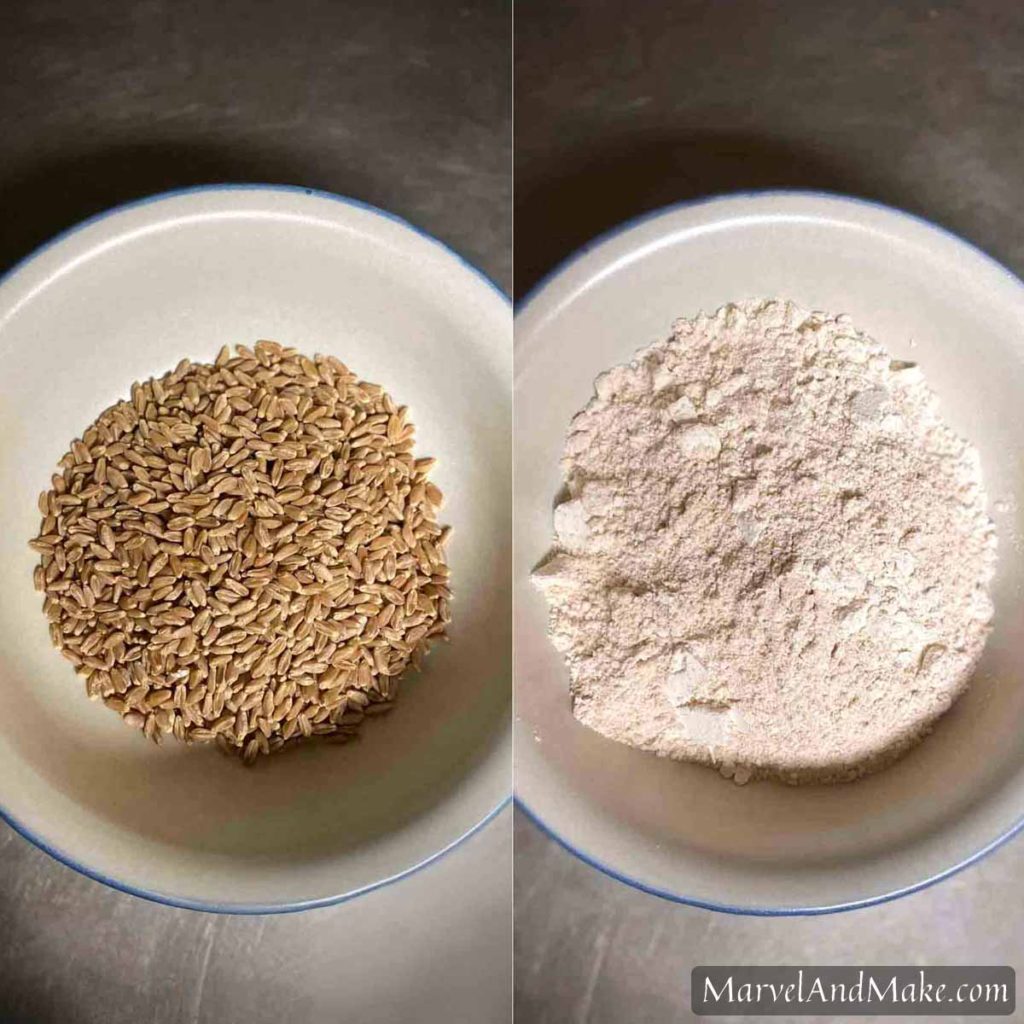
Milling grains into flour introduces the oils of the kernel to the air causing them to break down. Waiting too long to use whole grain flour results in rapid loss of the vital nutrients. The flour will also quickly go rancid. This is why home milling is key.
If grains are milled into flour in large factories, placed in bags, and shipped to big box stores all over the globe…the pure, nutrient dense fresh flour would go rancid before it ever even hit the shelf.
So What Happened?
In the late 1800s technological advancements allowed the bran and the germ – where most of the vital nutrients are contained – to be easily removed from the endosperm, increasing their shelf stability. People stopped home milling, or going down to the local miller to get their fresh flour, and started purchasing white, fluffy, cheap flour from grocery stores.
The problem however, was that the population was left with only the endosperm – the largest portion of the kernel that’s also predominantly starch and protein. While it does contain some vitamins and minerals, it’s nowhere near as nutrient dense as the bran and germ.
This quickly led to widespread diseases like Beriberi (Thiamine deficiency) and Pellagra (Niacin deficiency).
The response was to “enrich” the flour, instead of returning it to its’ natural state and educating people on the benefits of milling at home. Man-made, enriched flour only adds back a handful of the stripped nutrients, and does so in miss-proportioned amounts, thus causing additional issues. What a tragedy.
How are Whole Grains Beneficial?
As mentioned above, whole grains are an excellent source of good carbohydrates, healthy fats, and protein. A handful of the other vital nutrients they contain are: vitamin E, vitamin B6, Magnesium, Thiamine (B1), Riboflavin (B2), Niacin (B3), Fiber, Potassium, Folate, and Iron.
We have been told that bread products are inflammatory, fattening, empty foods – but this couldn’t be further from the truth. As long as, like with everything we eat, we consume the grain as it was intended (in its complete state) we can reap the extreme health benefits and roll in fresh baked breads, cookies, muffins, biscuits, and more. The pastabilities (sorry) are endless.
The Taste
I should probably just mention something about the flavor difference, in case you were wondering.
Fresh milled flour – and foods made from it – tastes amazing. Like really, you can’t compare it to commercial flour products.
Take pancakes for example. Pancakes made from a box mixture become carriers for butter and syrup. They are bland without it. But mill up some Spelt whole grains – add buttermilk, salt, egg, oil, and vanilla – and not only will you not need the syrup, you won’t want it. I promise. It’s rare that we add syrup to pancakes because they are so delicious on their own.
And continuing with the pancake analogy, they are extremely nutrient dense. You won’t be reaching for a mid-morning snack if you eat a pancake or two for breakfast. Unlike the void restaurant pancakes that leave you hungry an hour after their consumption.
One more point I’ll make about taste is that every grain has a different flavor profile. Some are sweet, some are nutty…some mild and some bitter. As you dive in to grain milling, you’ll learn what grains are best for what and you’ll also find your favorites.
This post may contain affiliate links. Read my full disclosure here.
As an Amazon Associate I earn from qualifying purchases.
Getting Started
Trying to navigate the world of milling whole grains can be daunting at first. But I promise, at-home milling is a simple process once you understand the basics.
Tip #1: Don’t Get Overwhelmed
There are so many grains out there that sometimes getting started can feel overwhelming. Barley, Buckwheat, Spelt, Sorghum, Soft White Wheat, Hard Red Wheat, Amaranth…I could go on and on. Don’t feel like you need to jump in with all the grains, all at once. You’ll be biting off enough just learning to mill – AND learning to make bread, if you’ve never done that before, either.
Pick a few to get you going.
For bread making: I recommend either Hard White Wheat or Hard Red Wheat. Hard Wheat has a higher gluten-forming potential and therefore is best for making yeast breads. Hard White is more mild – I prefer this if I’m making dinner rolls, hamburger buns, or pumpkin bread. Hard Red has a lovely nutty profile and really is best on it’s own…perhaps slathered with some real butter.
For any other baking: I recommend either Soft White Wheat or Spelt. I pretty much use these interchangeably. If I’m making something where I don’t want the taste of the flour to stand out, I’ll use Soft White: biscuits, cookies, brownies, etc. If the flavor of the grain will contribute to the finale, then I’ll use Spelt. This is why I prefer Spelt for pancakes. I also love it for cobbler or coffee cake.
Tip #2: Invest in a Good Mill
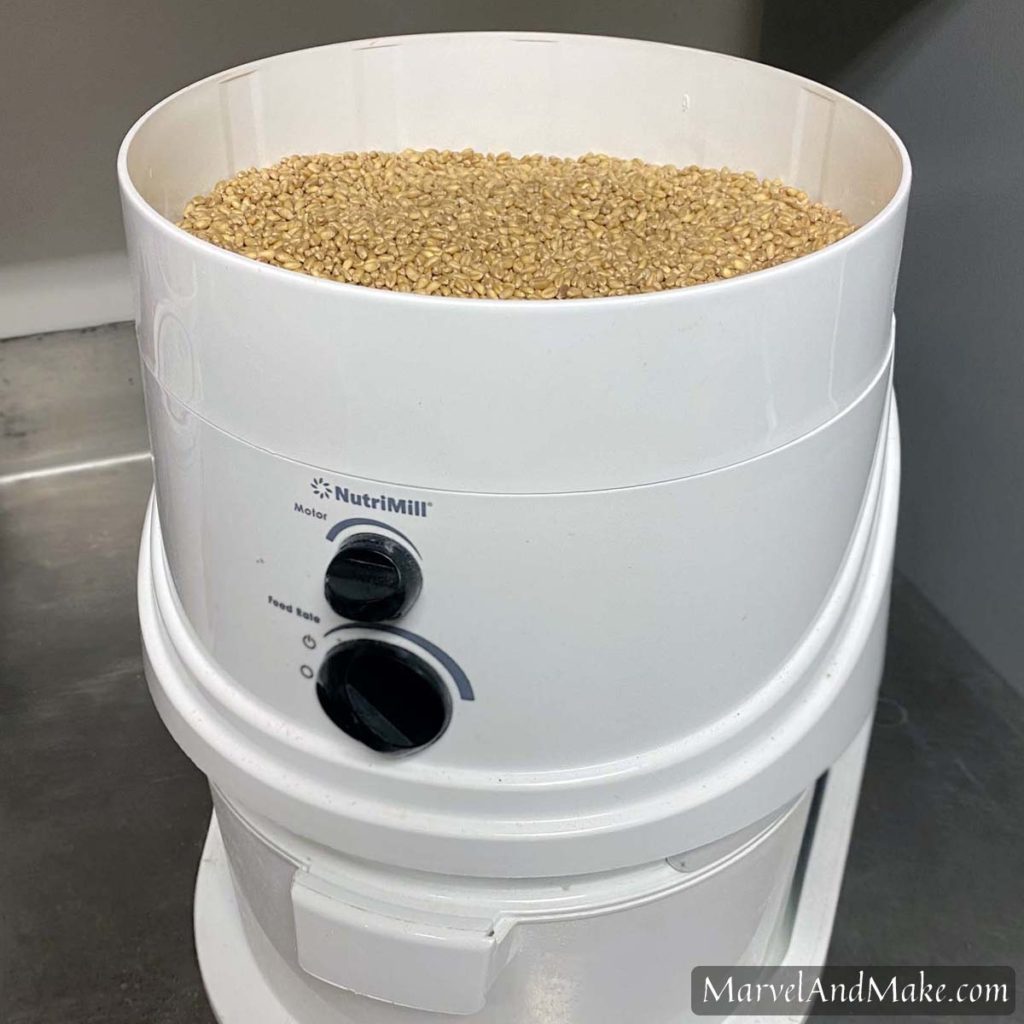
My personality is to go against the status quo for no other reason than it’s the status quo. Often, I get bitten because I don’t listen to good advice. When I was about to dive into grain milling, I was told to get either the NutriMill or the WonderMill. I didn’t listen. Learn from my mistake: don’t try to cut corners, invest in a good quality grain mill upfront.
At the time, both options were just over $200. I was nervous to spend that on something I wasn’t sure I was going to stick with (and there’s the whole “do it my way” aspect) so, instead I purchased a grain mill attachment for my stand mixer. This little piece set me back about $125 and guess what? It wouldn’t grind the grains into fine flour. If you want to turn corn into cornmeal for grits or cornbread, it’s great. But it does not produce fine flour. (I even tried running the grains through a second time but it really didn’t help.)
After $125 wasted, I ended up purchasing the NutriMill Classic and it did a superb job for years. Both the NutriMill and the WonderMill will get you extremely fine flour in minutes. And on either model you can change the settings to get a more coarse grind (for those grits) as well. I just recently switched to a MockMill, which is a stone ground mill. I love it even more than my NutriMill mainly because it takes up less space on the counter, doesn’t require any cleaning, and the flour dispenses into a bowl instead of a closed container.
Tip #3: Start with Recipes Written for Whole Grains
There is a bit of a learning curve when baking with fresh flour. We all love jumping on Pinterest because we’re craving Snickerdoodle cookies and want to find the best recipe to whip up a batch. However, substituting whole grains for All-Purpose or Self-Rising Flour is not a one-to-one swap. Typically you’ll need to add a tad more flour plus baking powder, salt, and sometimes baking soda.
It’s for this reason that I highly recommend getting a few cookbooks – or follow my whole grain recipes, of course – that are written specifically for freshly milled flour.
All About Baking
My all time favorite cookbook for everything whole grains is The Essential Home-Ground Flour Book by Sue Becker. Her recipes include yeast breads, quick breads (no kneading), desserts, and more. Not only are these recipes fool-proof and delicious, but the first half of the book is all information on whole grains. Read it. Knowledge is power and it will only enable you to go further.
Another standard for baking is The Homemade Flour Cookbook by Erin Alderson. This book is beautifully illustrated and is a great compliment to the standard mentioned above by Sue Becker. A couple of the recipes overlap the two books but they offer their own versions. I like comparing them and sometimes, creating my own. Erin includes a much wider variety of grains in her book and breaks down the grain profiles in each section, making them easy to digest.
Baking and Beyond
Here’s a good one: Nourishing Traditions by Sally Fallon. If this is your first time hearing about this book…YOU ARE WELCOME. Friend, do yourself a favor – let this book reshape your entire way of looking at food. I will have to write a whole separate post on why this one is a staple but for the topic of grains: it teaches how to soak grains before eating them. I do this, sometimes. Read about it and decide what fits for you.
The last one I’ll mention that’s also quite different is Whole Grains Every Day, Every Way by Lorna Sass. This book hardly touches on baking with flour made from whole grains but rather using grains as part of a meal. For example, she has a sausage and bell pepper casserole that incorporates whole grains (not milled). She also swaps Barley for Risotto in a dish accompanied by mushrooms and leeks (I know, my mouth is watering too). There’s a wide variety of ways you can get grains into your diet with this one.
FAQs
What if I’m Gluten Free?
Gluten-free grains include Buckwheat, Sorghum, Teff, Amaranth, Millet, Oats, Corn, and Brown Rice.
NOTE: if you have Celiac disease and cannot tolerate gluten even in small doses, always check the label of the grains to be certain they weren’t processed in a facility that also processes wheat.
If you have NOT been diagnosed as a true Celiac, you likely can tolerate gluten if it comes from real, whole grains. I am not a doctor, nor do I have any sensitivity to gluten, but I have read that folks who react to commercial flour products are not typically affected by breads from whole grains. There is much more to be said on this topic – it deserves it’s own article.
Where do I Buy Whole Grains?
Whole grains are very accessible and can even be found in standard grocery stores. However, they will likely be in smaller packages, usually 1 pound bags, and marked up at a premium. It’s best to source grains in bulk. Typically you can find a regional co-op and order with a group to save on shipping. I get mine from the local Bread Beckers co-op in 6 gallon buckets (just over 40lbs each). Azure Standard is another great source and they are available nationwide.
What can I Mill?
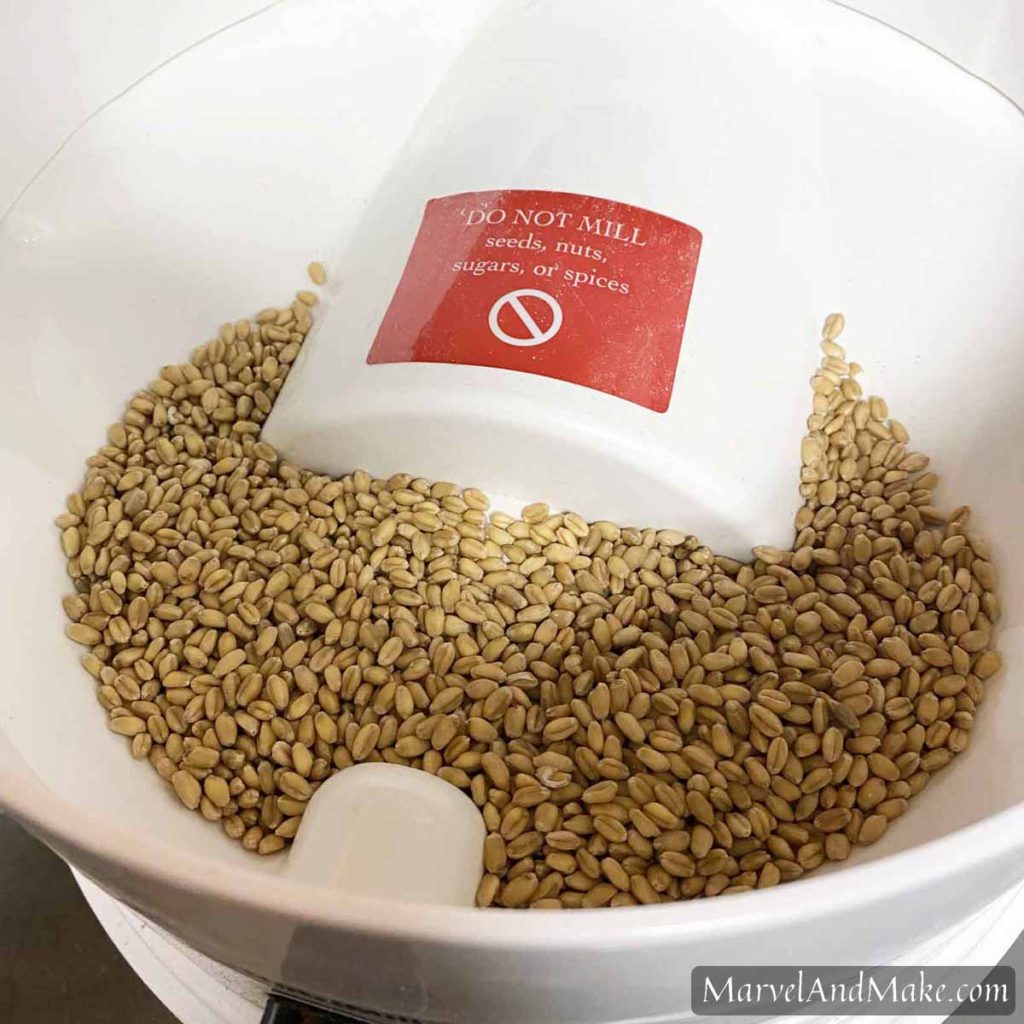
This depends on your mill. There are different types of mills – electric or manual and steel or stone heads. Both mills listed above are electric and grind the grains with steel milling heads. These are suitable for a wide variety of grains including beans and corn but cannot mill anything oily like flaxseed or nuts, herbs, or spices. Be sure to check with the mill manufacturer before running anything questionable through your grain mill.
How Much Flour Will 1 Cup of Grain Yield?
1 cup of grain or wheat berries will NOT give you 1 cup of flour. It will almost always give you more – typically around double the amount. This varies widely depending on the grain you’re milling. I spent timing milling 16 different popular grains and created a Whole Grain Flour Conversion Chart for you to print out (or screenshot on your phone) and keep as a reference. I hope you find it useful!
This is great information!! I learned so much and am eager to make milling a huge part of my kitchen life.
Thanks so much, Trecia! Let me know if you ever have questions.
I milled my first flour tonight and made biscuits. I made them by hand as I always have using my self rising flour. I added baking powder and salt, used crisco and buttermilk. They were a little dense but had a pretty good taste. They need to rise more and be more fluffy. Any advise .
Hi Jym, my first thought would be that the dough could have been overworked. You want the dough to be quite sticky, with a light flour layer on the outside to prevent them from sticking to the pan or your hands. BUT I see you said you’re familiar with making biscuits… so perhaps that wasn’t it. Which wheat berry did you mill into flour?
(I will also say that fresh milled biscuits are definitely more dense. I’ve gotten used to the texture because the nutritional value is worth it for me, but they aren’t the same fluffy biscuits I grew up on.) 🙂
Jym, did you try my Biscuits recipe? I just realized you commented on the homemade flour article… I assumed in my first response you’d commented on the Biscuits recipe. (I will also say that I don’t recommend Crisco…try lard or grass fed butter.)