This post may contain affiliate links. Read my full disclosure here.
As an Amazon Associate I earn from qualifying purchases.
If you’ve never boiled a whole chicken, you are in for a treat.
Boiling a chicken is one of the easiest things you can do in the kitchen and it yields amazing results. The first time I did this I felt like such a homesteader and couldn’t believe I hadn’t done it sooner. There is something extremely satisfying about the entire process – and you’ll see why as you continue reading.
Let a chicken be a chicken
I used to only buy and cook chicken breasts until one day I heard on a podcast (I believe it was the Wise Traditions podcast, check it out if you aren’t already obsessed), that only consuming part of the animal was like saying “I don’t need the rest of you.” Ok, that may sound a little kooky BUT it resonated with me from a stewardship standpoint.
I try to always consider where my food came from, for more reasons than simply being mindful of what I put in my body. I want to know that the animals were treated well. That a chicken was allowed to be a chicken or a cow to be a cow. Not caged, injected, and inhumanly slaughtered.
Cheaper is a bonus
Cooking a whole chicken is also much cheaper. Meat prices vary depending on where you live and where you shop. And, if buying quality, organic meat – or locally sourced meat – is important to you, that price tag could almost double. But, if you price a two-pack of chicken breasts and compare it by weight to a whole chicken, it will likely even out. (Make sure you compare organic to organic and conventional to conventional.)
Here’s what tips the scale: when you’re done boiling your chicken, you end up with 3 to 4 quarts of chicken stock. Compare those prices. Not to mention that chicken stock was one of those hard-to-find items – like yeast, bread, and toilet paper – during a certain global crisis. And this homemade creation will be the healthiest stock you could possibly feed your family. Feel good about that one.
Waste not, want not
And the last major point: it’s not wasteful. Boiling a chicken allows you to use every part of the animal, get as much meat as possible, create that glorious stock, AND save money. You will also have dinner for your pig (if you have one) when you’re done. Stick around…
Selecting Your Chicken
My preferred way to buy meat is to source from local farms. You’ll find that most farmers put their heart and soul into what they produce. I am not shy about asking someone exactly what is in their chicken feed – or if their cows are completely grass fed and grass finished. These are important questions. I am in charge of what goes into my family’s body and with all the growth hormones that are common amongst mass producers, meats that aren’t raised right can be detrimental to our health.
If I can’t find something locally, I will buy the organic option from a grocery store. It’s truly rare that I do this. “Organic” is becoming more and more of a blurred line. I much prefer being able to visit a farm and see the conditions in which their animals are reared. Either way, if you resort to purchasing from your favorite box store, don’t fall for the marketing lingo. Labels like “Natural” or that beautiful brown packaging companies are rapidly switching to give the appearance of health but it’s all hype, designed to be misleading.
“Ok – how do I source from a local farm?”
Buying meats from farmers in your area is actually easy, once you start. I buy from a few farms once or twice a month, depending on how low my freezer is (and I keep it pretty well stocked in case any of the food chains dry up – like mentioned above, we’ve all seen the shortages that can happen). The farm I rely on for raw milk also has beef and pork items I get frequently. They deliver once a week to a convenient outdoor pick-up. I place my order with them via text message and pay when they deliver. Another farm I trust delivers once a month and I place my order with them online.
Most farms allow you to buy as little or as much at a time as you want. If you wanted to purchase a half of a cow – yes, a literal half of a cow – you can do this and save a decent amount. This is a great option for big families on a budget. My method is to stock up on our staple cuts of meat – things like whole chickens, ground beef, pork chops, breakfast sausage – and occasionally try something we normally wouldn’t, like beef tongue. Tacos de Lengua, anyone?
If you’re not sure how to find a farm, a great resource is to ask a local chapter leader of The Weston A. Price Foundation. They will provide you with a list they’ve compiled of farms in your area that have good, healthy practices. Grass-fed beef, soy-free eggs, raw dairy, seasonal produce, and more is what you can expect on the list. Likely, you’ll be surprised at the number of options available. Also, check out my blog post for even more tips on how to source meat locally.
Let’s Dive In
If you’re starting with a frozen chicken, you will want it to thaw completely before boiling. As a general rule, always let your meat come to room temperature before cooking. You will get the best results cooking meat that starts at an even temp throughout. Otherwise, the outside will end up over-cooked and tough before the inside has even begun to cook. (I recall learning this when I tried to make fried chicken for the first time and was working with chicken straight out of the fridge. When the insides were finally done, I had a black and burnt exterior.)
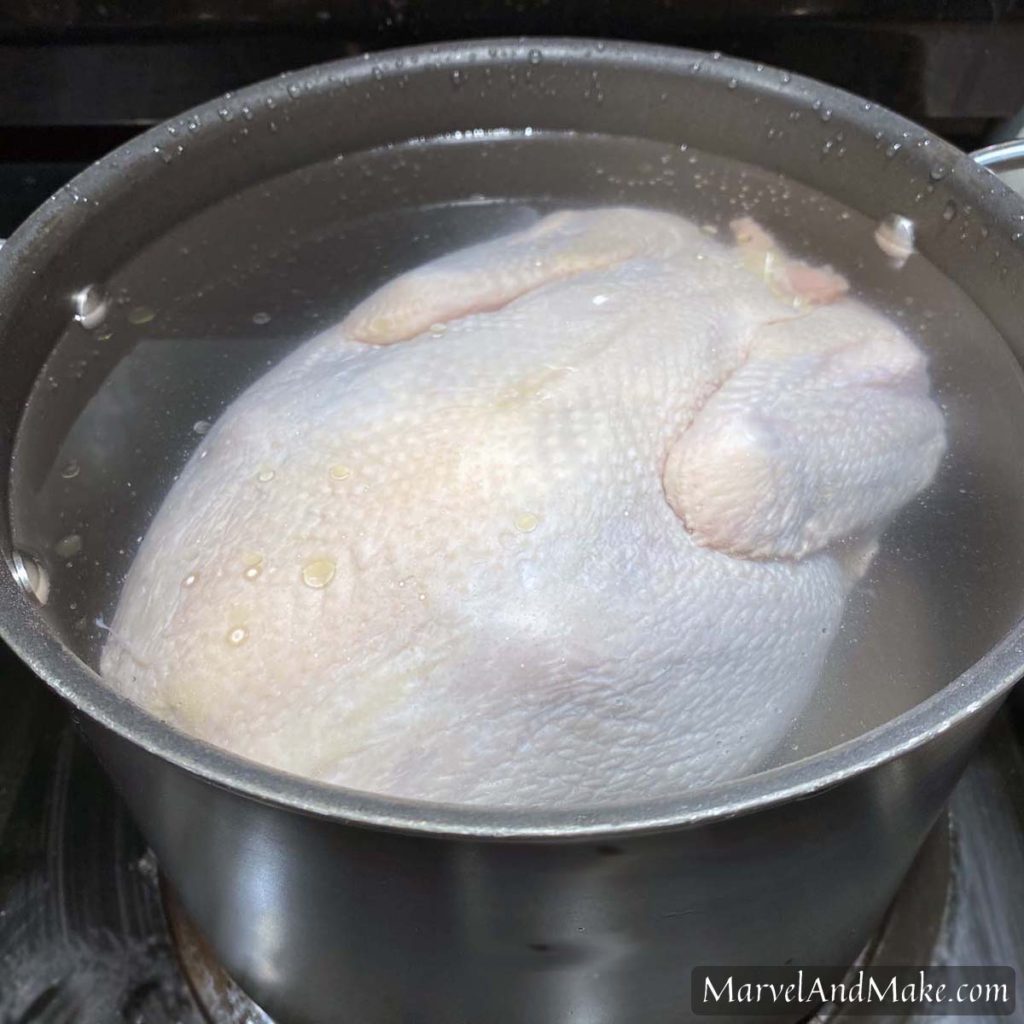
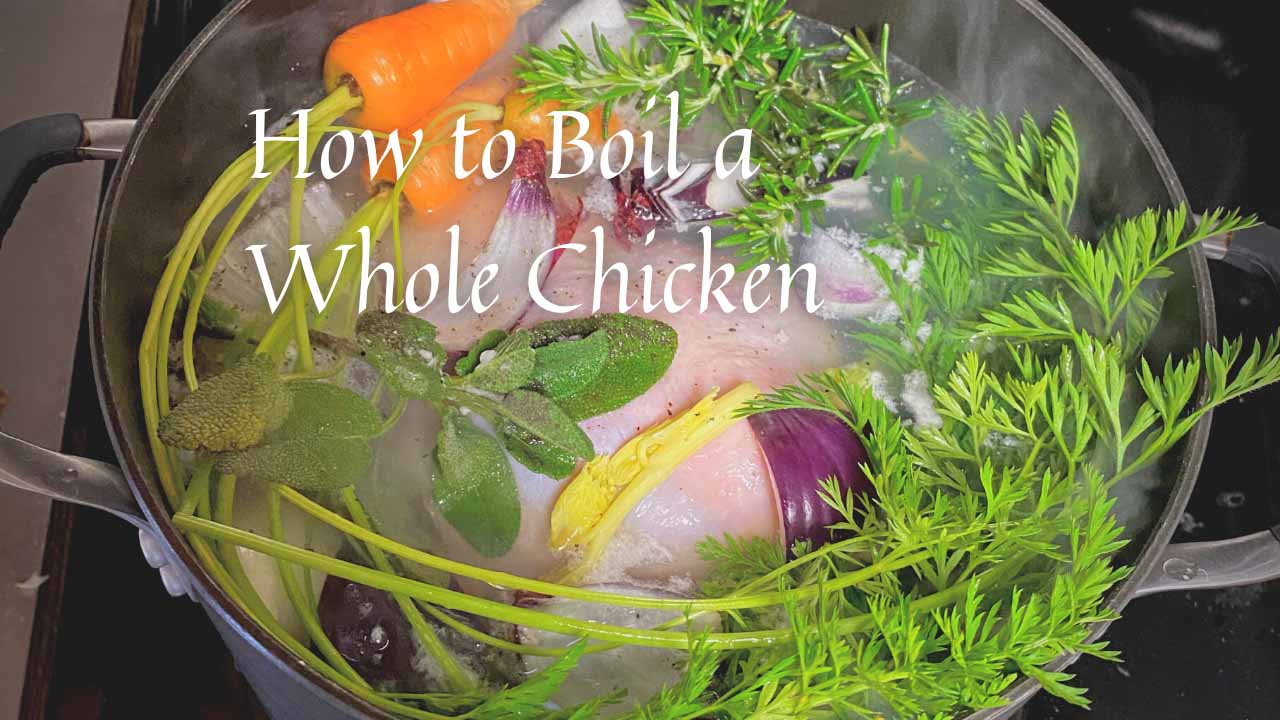
Once you have a room temp bird, place it in a large stock pot or Dutch oven. If you’ve sourced a chicken that has giblets, head, and/or feet attached – awesome – this will make your leftover stock all the more nutrient dense. Cover the chicken with filtered water and place on a burner on high heat. Technically, this is all you need to do to “boil a chicken” but, let’s take it a step further.
Add Veggies
To give your chicken a nice flavor and to make a well-rounded chicken stock, throw in some vegetables to your water.
Tip: Always freeze veggie scraps that you’d normally through in the trash. The tough outer layer of onions, carrot tops, bell pepper stems, pieces of garlic…all fair game. You’ll thank yourself (and me!) when you dump your freezer bag full of goodness into the boiling water and watch it turn into stock.
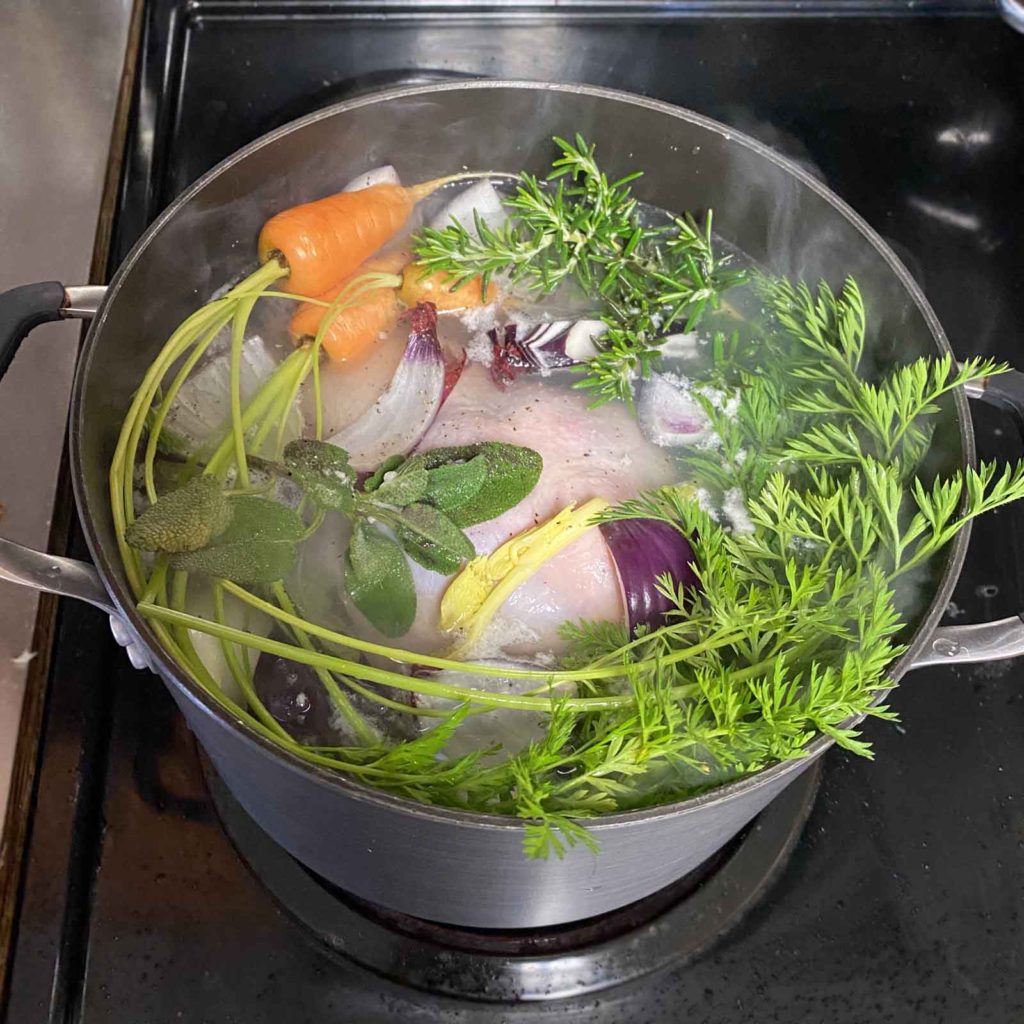
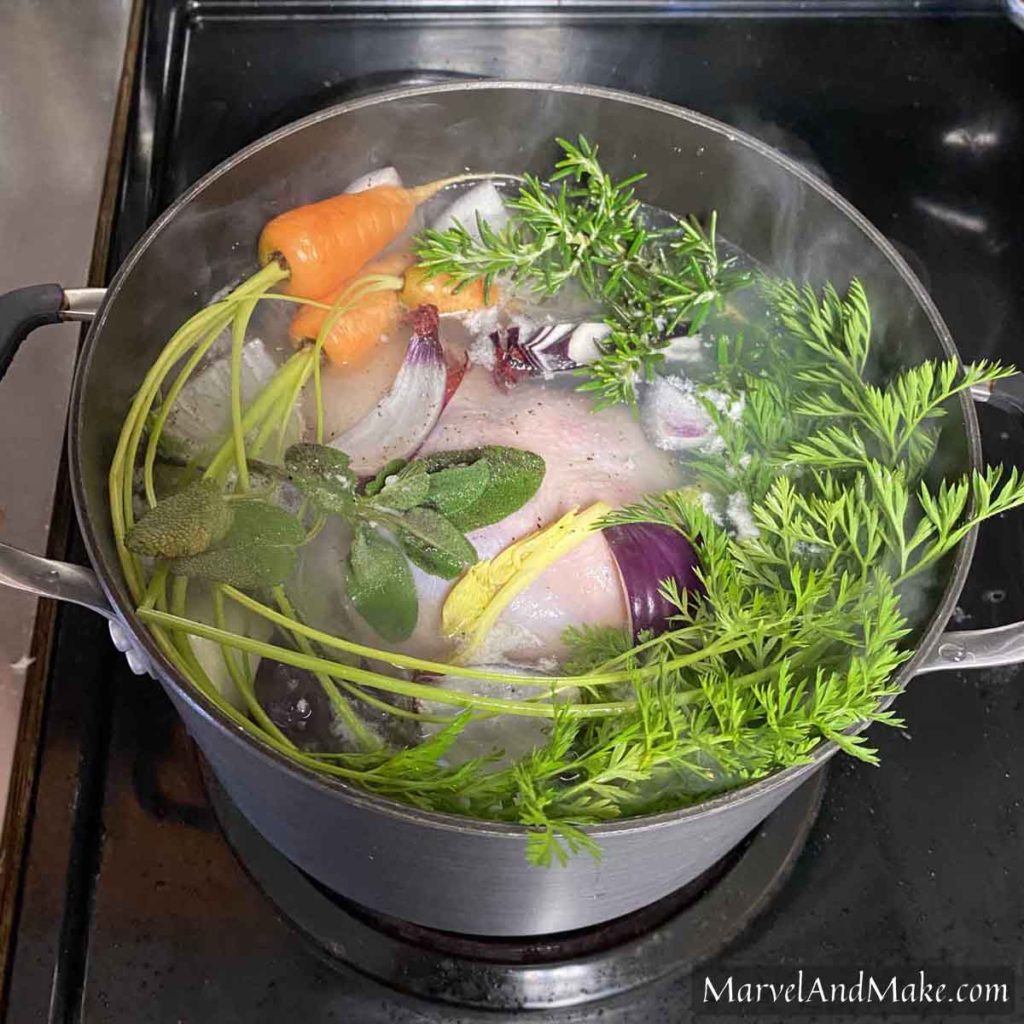
If you aren’t tossing in frozen scraps (the “come to room temp” rule doesn’t apply to veggies), grab your fresh produce and begin chopping while the pot comes to a boil. To your pot you’ll want to add any combination of staple vegetables you have on hand. I recommend onion, garlic, celery, and carrots. You could even toss in fresh herbs like parsley, rosemary, or thyme. Add some salt – roughly two teaspoons should suffice.
Boil and Simmer
Once you’ve added your salt, herbs, and veggies, make sure the chicken is fully submerged below the surface of the water and allow to come to a boil. Turn the heat down to low and simmer for about an hour. The time will depend on the size of your bird. I typically set my timer for 45 minutes and then check using a thermometer (here is a link to my favorite thermometer). Chicken is fully cooked when it reaches 165° Fahrenheit. Some thermometers, like the one linked above, can be set to alarm when its probe reaches a certain temperature. If yours has this feature, you can leave the tip in the meat as it continues to cook and set the time to 165° so it will chime when it reaches that temp.
Pull that meat!
Once the meat is cooked all the way through, turn off the burner and carefully pull the chicken out of the beautiful chicken stock. I use a heavy pair of tongs to do this, working slowly so I don’t drop the bird back into the broth. If I’m not in a hurry, I’ll just turn off the heat and let everything cool down slowly before I remove the meat. Place the chicken on a plate and let it cool down.
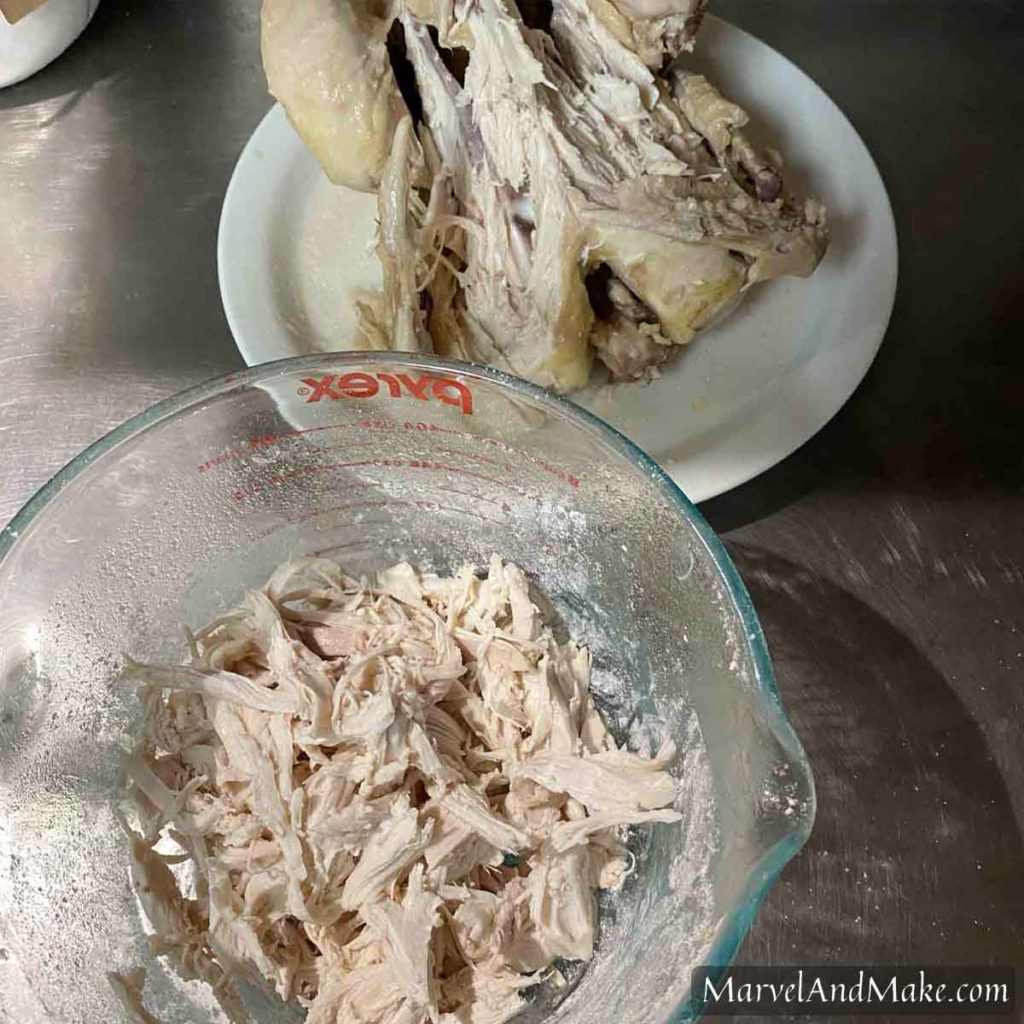
Once it’s cool, use your *clean* hands or a fork to pick the meat off the bones. I love this step. We are accustomed to buying chicken breasts or thighs that have been conveniently wrapped in plastic. We are so far removed from how the animal is actually constructed. This should make you appreciate every morsel of meat that makes up the small winged creature we all love.
Put the pulled meat in a container and use for any recipe that calls for cooked chicken like Chicken Pot Pie, Chicken and Dumplings, or shred over a bed of lettuce with some homemade ranch and fresh croutons.
Save the Stock
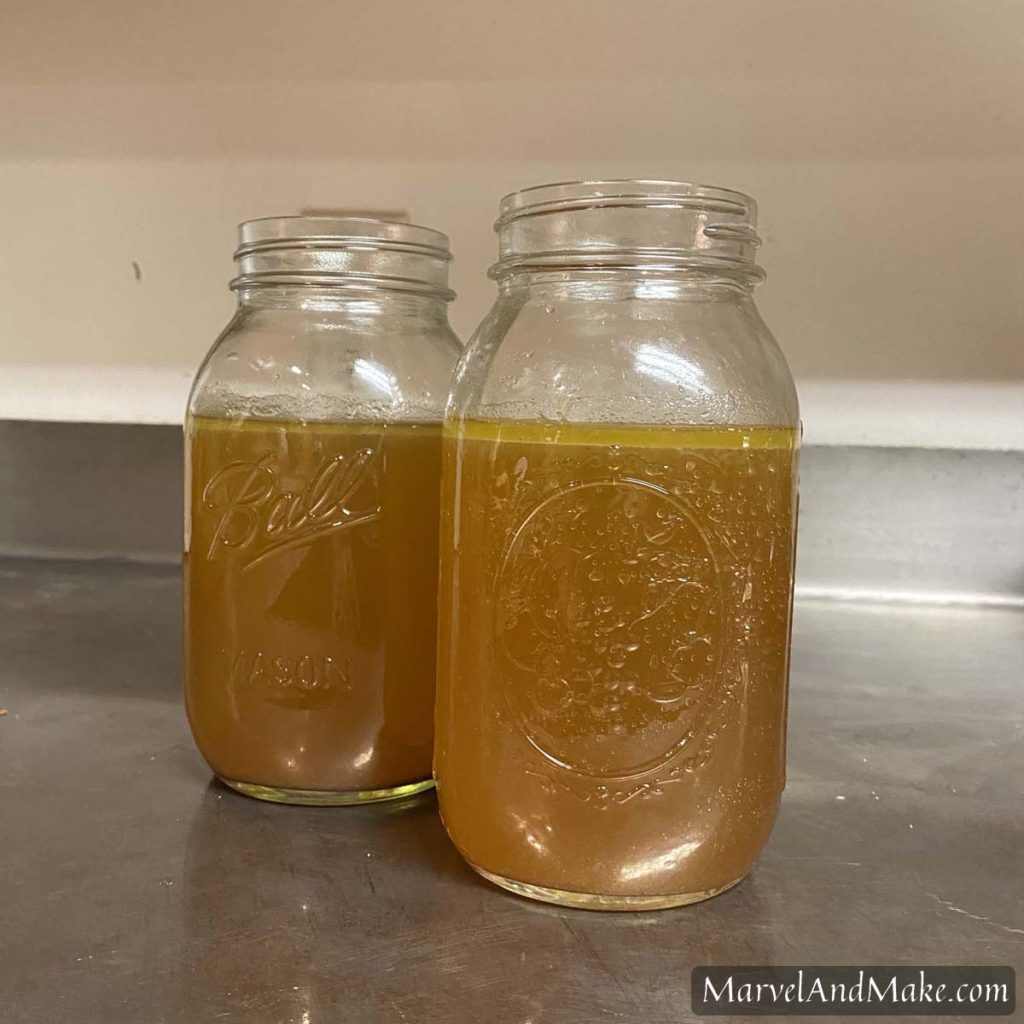
One of the benefits of boiling your own chicken is you end up with a lovely pot of stock to use immediately or freeze for later use. Just make sure you strain off the veggies and chicken bits before bottling. I freeze mine in Mason jars, being careful to leave enough head space at the top for expansion. Allow the liquid to cool completely before setting it in the freezer. Don’t forget to label and date the contents.
To use at a later date, simply set the jar on your counter or in your sink and let it thaw. You can also set it in a bowl of lukewarm water to speed up the process, just be mindful that the water isn’t too hot. Going from one extreme temp (freezing) to the next could crack the glass. You can also absolutely freeze your stock in plastic containers. I used to do this when I didn’t have enough glass jars BUT if you want to be as healthy as possible, avoid plastic altogether.
Chicken Stock, Beef Stock, or Veggie Stock is called for in many recipes. You can also substitute it for water when boiling rice. Try incorporating it into your next from-scratch meal for added flavor and nutrition!
Leave a comment below letting me know if you tried this recipe and what you thought! Was this your first experience with boiling a chicken?
Whole Boiled Chicken
Equipment
- Large stock pot or Dutch oven
Ingredients
- 1 Whole Chicken
- 1 Onion, chopped (optional)
- 2 Celery Stalks, chopped (optional)
- 2 Carrots, chopped (optional)
- 1-3 tsp Salt
Instructions
- Remove chicken from packaging and place in large stock pot or Dutch oven. Cover with filtered water and put on burner on high heat.1 Whole Chicken
- If using, chop and add recommended vegetables and/or herbs to the pot. You can complete this recipe without adding any veggies or herbs, but they really amply the flavor of the meat if included.1 Onion, chopped (optional), 2 Celery Stalks, chopped (optional), 2 Carrots, chopped (optional)
- Salt the water and bring to a boil. Once boiling, turn down to low and simmer for 45 minutes to 1 ½ hours. Simmer until the chicken is cooked throughout and reaches an internal temperature of 165° F.1-3 tsp Salt
- Remove the chicken from the pot and let cool. Pull the meat off the bones and use in any recipe requiring cooked chicken. (See below for suggestions.)
- Do not pour out stock! Pull out cooked vegetables and discard (or compost or give them to your backyard pig). Strain the stock and use immediately or freeze for later use.



Thank you for the detailed recipe with pictures. I’m looking forward to tasting my home made broth.
You are so welcome, Trecia!
It was wonderful! I added half a green apple and cut into chunks, whole prunes about 10, minced garlic about 1/4 cup+, and I added Knorr’s Powder Bouillon about 1/2 cup. Thank you for the amount of salt; I used 2 tsp. It was so quick that I didn’t believe it was ready, so I cooked it a little too long; thermometer read 192degrees….next time, I’ll so what you said and check it in 45 minutes. Great Recipe! TY!!!
Prunes and an apple?! What a wonderful idea! I am going to branch out with what I add to the stock… thanks for the inspiration! And I’m so glad you liked the recipe. 🙂