This post may contain affiliate links. Read my full disclosure here.
As an Amazon Associate I earn from qualifying purchases.
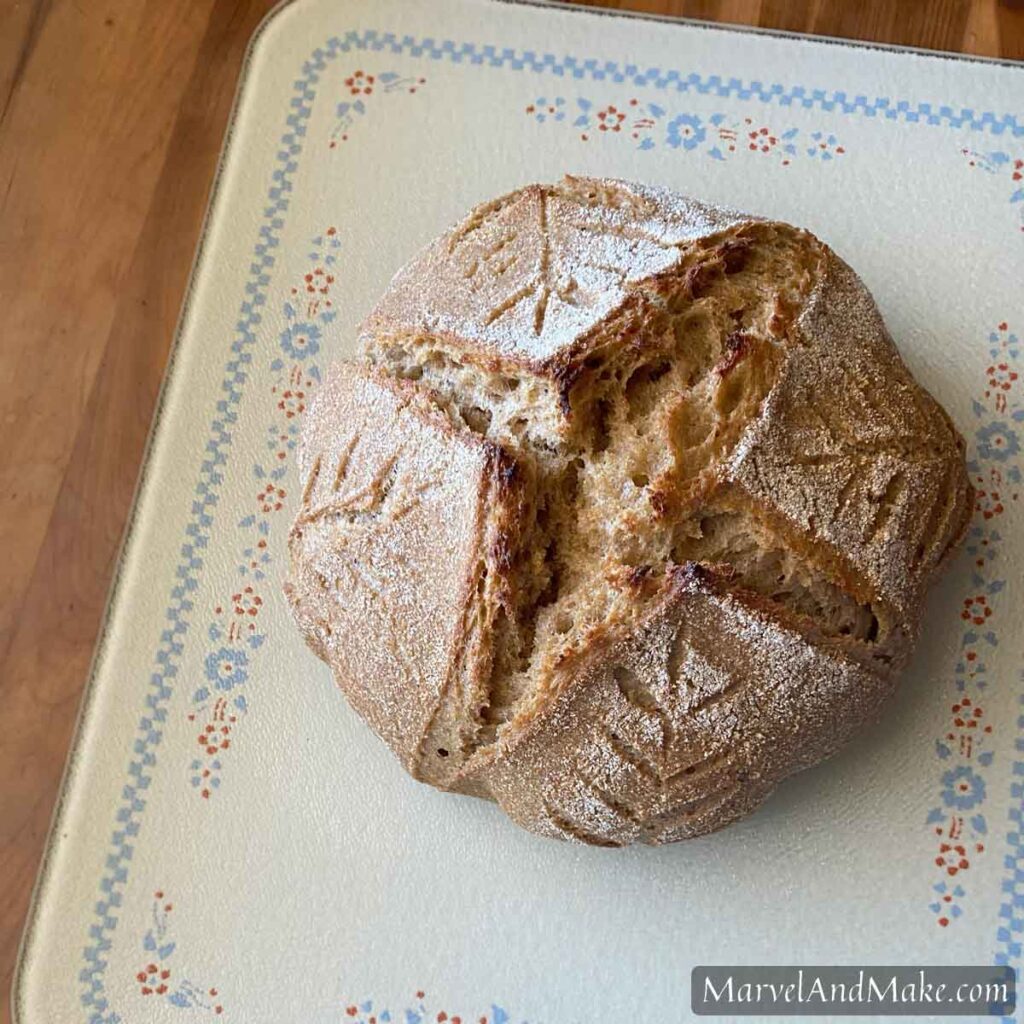
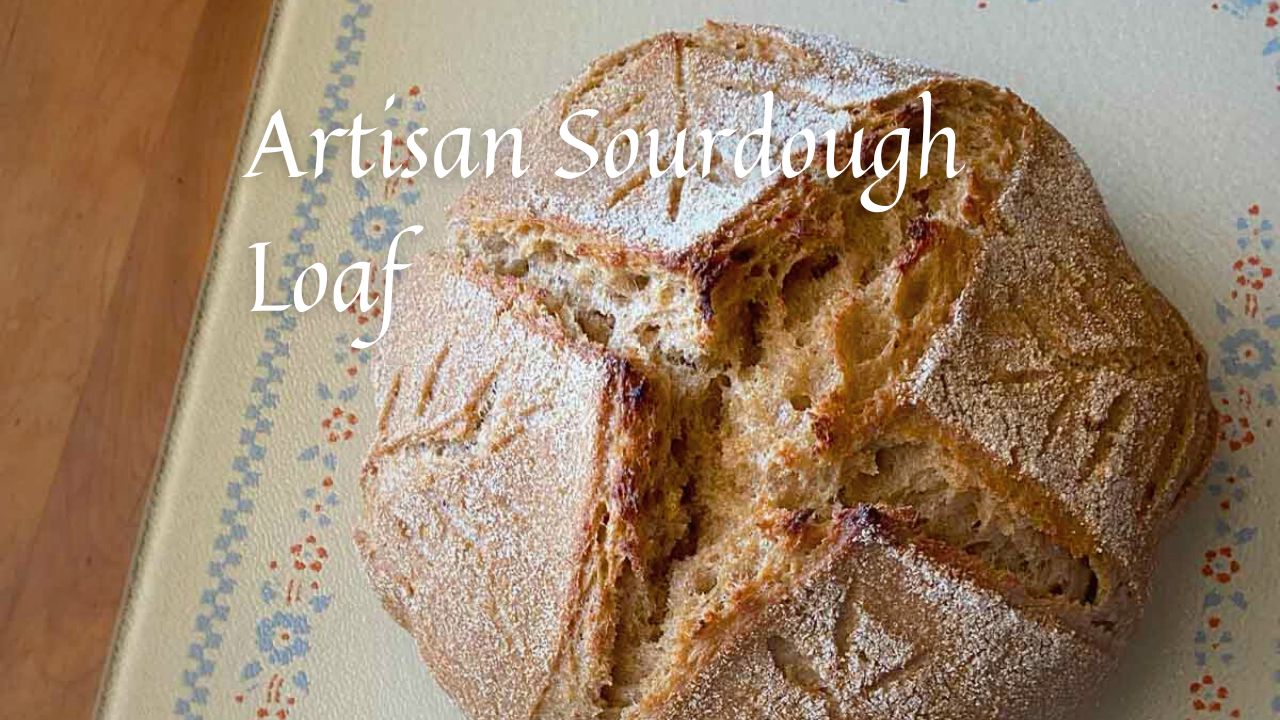
This recipe has been in the works for probably over a year at this point. If you are frustrated because fresh milled home ground flour doesn’t perform like conventional flour, give this sourdough loaf recipe a try.
Please understand that flour made from whole grains without anything removed will, yes, make a much more nutritious and bioavailable bread but it will also be heavier and more dense. My family likes it so much more than anything store bought or made from conventional flours. Just understand that it will be “different!”
What is a sourdough starter?
A sourdough starter is a mixture of flour and water that has been fermented to form a live active culture. It’s used to leaven bread the same way yeast is. Making a starter is simple but time consuming, taking anywhere from a week to 10 days or even longer.
The process is this: you mix flour and water and let it sit out on your counter, covered. Every day you dump out some of the mixture and “feed” it again. This fermentation process results in a beautifully bubbly starter. For a full tutorial on how to make a sourdough starter, check out this post by Farmhouse on Boone.
This is an entry level fresh milled sourdough bread…
I’m hopeful that this recipe can be “entry level” for those of you who want to bake sourdough bread using fresh milled wheat but haven’t had much luck converting other recipes. This one took me over a year to get right, and I finally found the ratio that gives me great results every time.
I only bake using freshly milled, whole grains. Simply put, I grind grains into flour using a home mill just before I want to bake. This ensures that the nutrients remain intact. To read more about why you should mill your grains at home, check out my full post Homemade Flour from Whole Grains.
Let’s Make Artisan Sourdough Bread from Fresh Milled Flour
In a large glass bowl, using a Danish dough whisk, wooden spoon, or your hands, mix everything together until there is no dry flour left and everything is well incorporated.
Cover the bowl with a towel, and let the dough sit for 1 hour in a warm place. After an hour, remove the towel and using your clean damp hands knead the dough together using the stretch and fold process. Perform 4 series of stretch and folds 30 minutes apart that consist of 4-5 stretches and folds each. Cover with a towel and leave out on the counter between each session.***
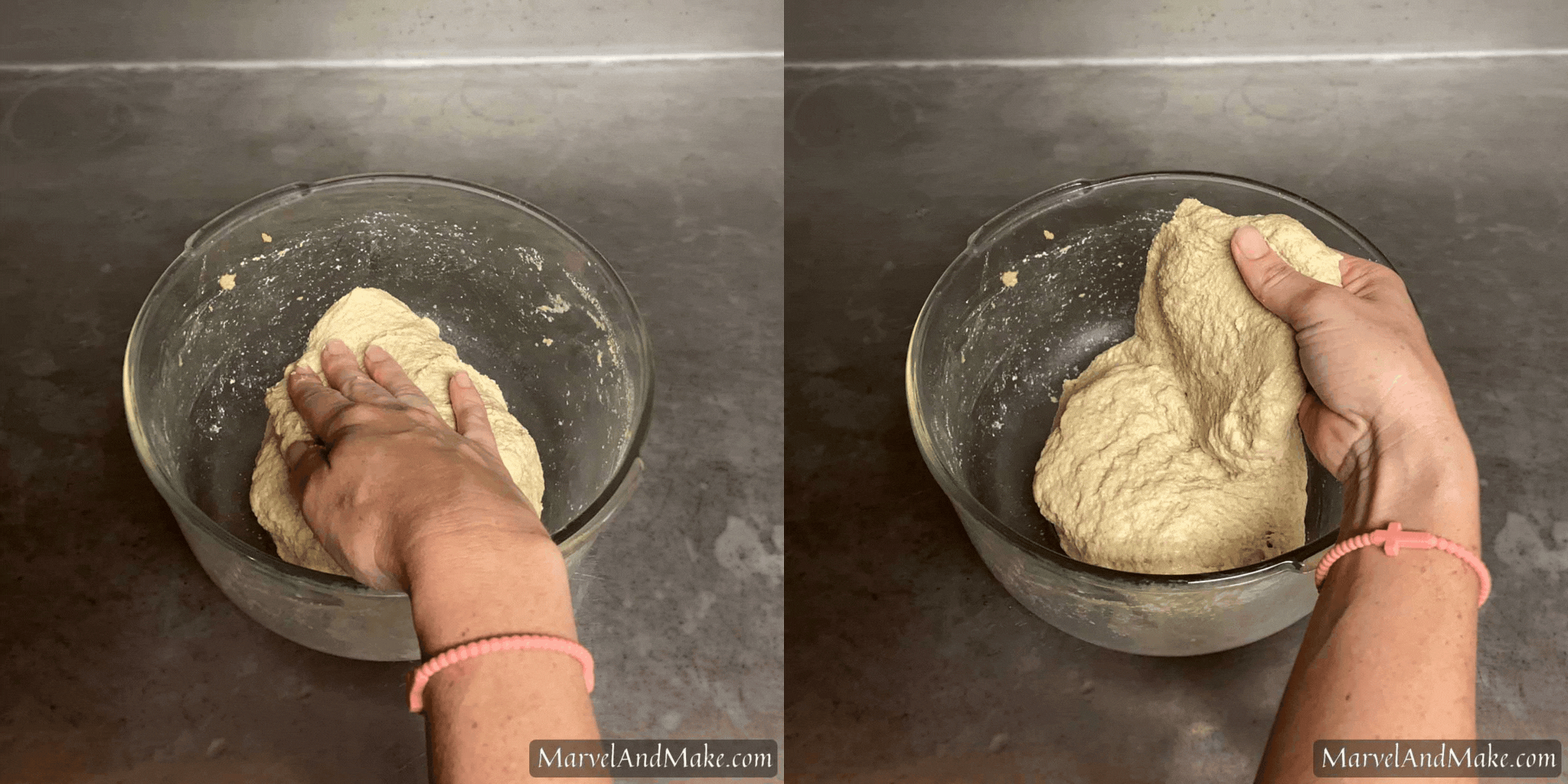
After the 4th series of stretch and folds, cover again with a towel and let it rest on the counter for 2 hours. Then gently lift the dough out of the bowl and lay it on a clean surface that’s either damp or lightly floured. Pull the dough out into a rectangle shape, roughly 8″ by 11″. Fold the right corner of the dough to the bottom center, then the left corner to the bottom center, and repeat until the dough is folded upon itself like a log.
Roll the log up to a ball shape. Let the shaped ball rest on the counter for 30 minutes. Heavily flour a banneton basket and transfer the dough to the basket upside down. Sprinkle a bit more flour on the bottom of the dough and then cover with plastic wrap or put the whole basket in a plastic shopping bag.
Place the covered basket into the fridge and allow it to proof overnight. The next day (morning, afternoon, or evening… it won’t make much difference), place a medium Dutch oven or other heavy bottom, lidded pot in your cool oven. Preheat the oven to 500℉. Once the oven is hot, pull your cold dough out of the fridge and dump it out on some cut parchment paper.
Use a lame, razor blade, or sharp knife to score the dough. (The dough will expand in the oven and “burst” if you don’t do this. You can include a pretty design but one good deep cut will give it the permission to expand where you want it to.)
Carefully pull out the hot Dutch oven, grab the parchment paper and place it with the dough inside, cover with the lid. Bake, covered, for 30 minutes. Then remove the lid, reduce the heat to 450℉ and continue to bake another 20-25 minutes or until it reaches an internal temperature of 195℉. (If you have an oven safe thermometer like this one that reaches outside the oven, use that while baking.)
Remove from the oven and enjoy with some real butter. (Even though we love warm bread… for best results, allow it to cool completely before slicing.) This fresh loaf will keep in an airtight container on the counter for a few days.
Leave a comment below letting me know if you tried this recipe and what you thought! Have you been baking with fresh milled grains for long?
Artisan Sourdough Bread from Fresh Milled Flour
Ingredients
- 515 grams Hard Red Wheat or Kamut flour I often do a combination*
- 397 grams Filtered Water
- 130 grams Active Sourdough Starter
- 14 grams Salt
- 50 grams Honey
Instructions
- In a large glass bowl, using a Danish dough whisk, wooden spoon, or your hands, mix everything together until there is no dry flour left and everything is well incorporated.**515 grams Hard Red Wheat or Kamut flour, 397 grams Filtered Water, 130 grams Active Sourdough Starter, 14 grams Salt, 50 grams Honey
- Cover the bowl with a towel, and let the dough sit for 1 hour in a warm place. After an hour, remove the towel and using your clean damp hands knead the dough together using the stretch and fold process. Perform 4 series of stretch and folds 30 minutes apart that consist of 4-5 stretches and folds each. Cover with a towel and leave out on the counter between each session.***
- After the 4th series of stretch and folds, cover again with a towel and let it rest on the counter for 2 hours. Then gently lift the dough out of the bowl and lay it on a clean surface that's either damp or lightly floured. Pull the dough out into a rectangle shape, roughly 8" by 11". Fold the right corner of the dough to the bottom center, then the left corner to the bottom center, and repeat until the dough is folded upon itself like a log.
- Roll the log up to a ball shape. Let the shaped ball rest on the counter for 30 minutes. Heavily flour a banneton basket and transfer the dough to the basket upside down. Sprinkle a bit more flour on the bottom of the dough and then cover with plastic wrap or put the whole basket in a plastic shopping bag.
- Place the covered basket into the fridge and allow it to proof overnight. The next day (morning, afternoon, or evening… it won't make much difference), place a medium Dutch oven or other heavy bottom lidded pot in your cool oven. Preheat the oven to 500℉. Once the oven is hot, pull your cold dough out of the fridge and turn it out on some cut parchment paper.
- Use a lame, razor blade, or sharp knife to score the dough. (The dough will expand in the oven and "burst" if you don't do this. You can include a pretty design but one good deep cut will give it the permission to expand where you want it to.)
- Carefully pull out the hot Dutch oven, grab the parchment paper and place it with the dough inside, cover with the lid. Bake, covered, for 30 minutes. Then remove the lid, reduce the heat to 450℉ and continue to bake another 15-25 minutes or until it reaches an internal temperature of 195℉. (If you have an oven safe thermometer like the one mentioned in the blog post that reaches outside the oven, use that while baking for the best results.)
- Remove from the oven and enjoy with some real butter. (Even though we love warm bread… for best results, allow it to cool completely before slicing.) This fresh loaf will keep in an airtight container on the counter for a few days. If you don't eat it after a few days, make it into breadcrumbs or croutons!
Notes
Nutrition


This bread turned out perfectly. I have been mixing home ground flours with commercial flours for a long time, but this was my first shot at 100% home ground flour. I used my whole wheat blend of 50/50 hard white and hard red and the loaf had beautiful oven spring and a really good flavor. I am really happy to have found this recipe – thank you for all your hard work in making this recipe work so well! Wish I could post a pic of this bread!
Dan, thank you so much for taking the time to comment! My hope is always to share good recipes so it’s wonderful to know that you enjoyed this one. 🙂
Hello, Do you every put vinegar in the bread?
Hi Caroline, I haven’t tried that but I’ve been meaning to. If/when I do, I’ll let you know how my results turn out! Has it been successful for you with fresh milled wheat?
can I omit the honey on this recipe?
Yes! I haven’t tried it so I don’t know if you’ll need to adjust the water. I did have someone tell me that she made the recipe with half of the honey and still had great results!
I would love to try this. How do I get the sour dough starter?
Hi Theresa!
There are a few ways to get a starter…
-You could make one. Here’s a guide: https://www.theclevercarrot.com/2019/03/beginner-sourdough-starter-recipe/
-You could buy one. (Look on Etsy or search in your area… even on Facebook marketplace.)
-You could be given one! Ask around or maybe post on social media that you’re looking for one. 🙂
I hope this helps!
Do you make your starter with fresh milled wheat? If not what do you use to make and feed it with?
I have heard that rye is the best grain to feed your starter with but I use a variety (it’s almost never the same grain). I’ll use soft white wheat, hard red, spelt, rye, Einkorn, Kamut, etc.
And I was given a starter made with fresh milled wheat, so I got to skip the process of making my own!
Hello, I am looking forward to trying your recipe. I am new to milling my own wheat and was wondering what type of hard red wheat you are using? The one that I have gives my bread the classic dark brown whole wheat look. I have been looking into which type of wheat to buy, to make “white” bread from fresh milled grains. Thank you for the recipe!
I get my wheat from Bread Beckers (sometimes Azure Standard if BB is out of a particular grain). I does look darker but not very dark… so maybe there’s a difference depending on where you get yours? I know most of their grains come from a farm in Montana.
I frequently make this recipe with half Kamut and half Hard Red… and I’ve experimented with others grains like Einkorn and Spelt. Hard White Wheat works well too! Just write down what you do so when you hit it out of the park, you can repeat your ratios. 😉
Good recipe! I used all white winter hard spring wheat (typically use white hard winter wheat; don’t care for red wheat). Also cut the water back to 375 g. as I have found since starting to mill my own wheat that my dough tends to be very wet. This combo was perfect for us! The dough was so lovely and easy to handle. Now looking to try to get more of that tang which we love. Hope you will post more freshly milled flour recipes, especially sourdough!
Thank you so much for your comment! I’m glad you loved the recipe. 🙂
Is your starter made from FMF?
I got a starter from a friend that was not made from FMF but all I’ve fed it with for years is fresh milled. It works beautifully! And you’ve just reminded me to feed it. 🙂
Have you ever tried putting whey in for part (or all) of the water.
I have not! I think it would work fine, though. Let me know how it turns out if you try it!
I just tried this recipe last night and the results were phenomenal! I just got a grain mill for Christmas, and while I have been making sourdough for a while, it was my 1st time with fmf. I had read so many posts about people struggling with fmf and sourdough so I was nervous. I did 250 grams kamut and the rest as hard white since I had that on hand and it worked great. I did a 1 hr fermentolyse then did slap and folds for a while until dough became elastic and smooth, then only did 2 sets of stretch and folds (30 min apart) since I needed to go somewhere and it worked wonderful!
That’s great news! I’m so glad it worked out for you. Thank you for taking time to comment and also sharing your specific process. 🙂